|
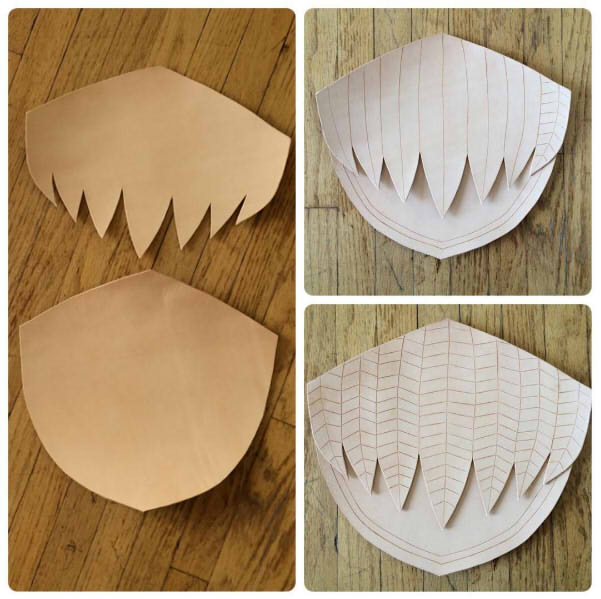
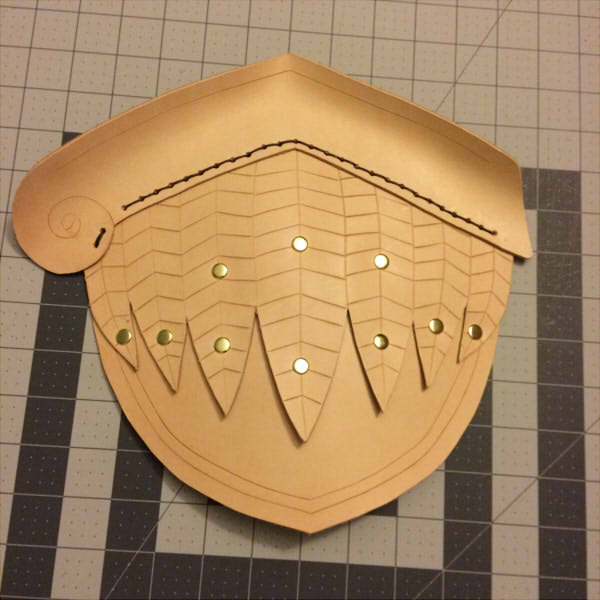
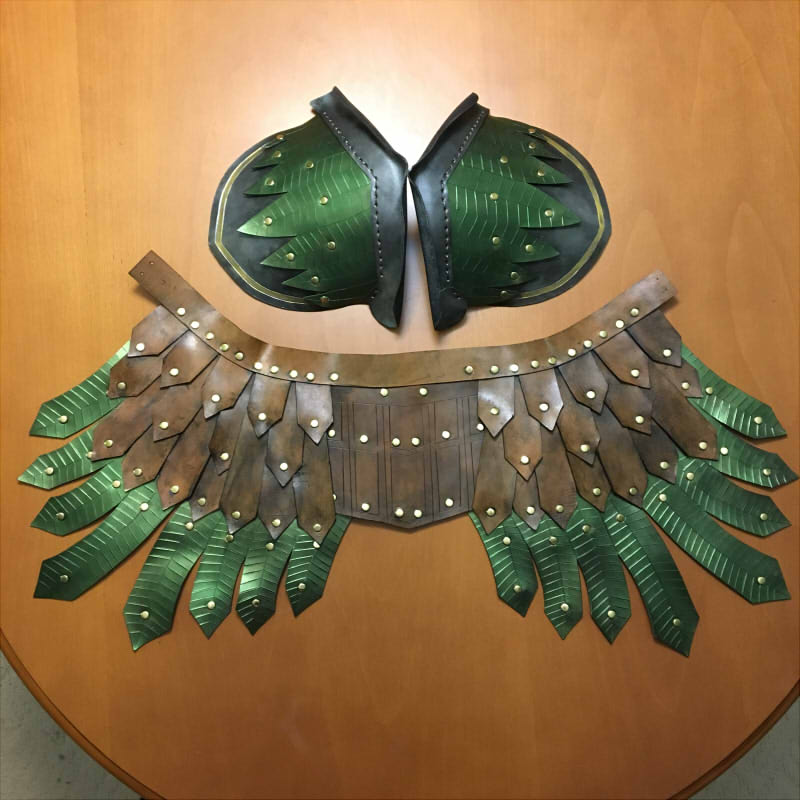
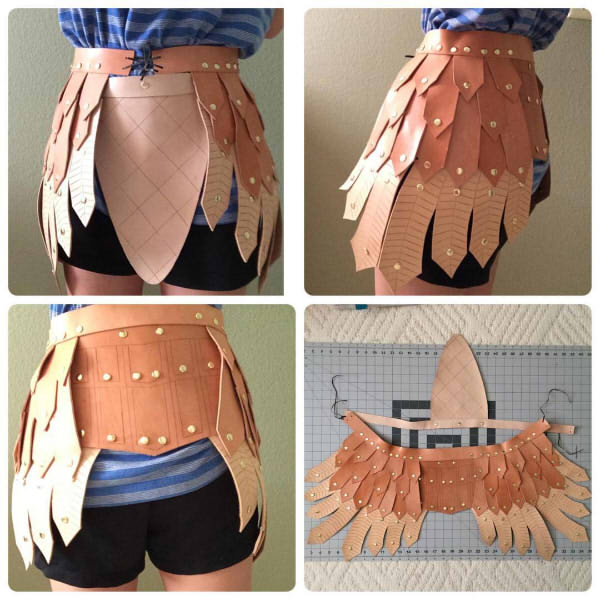
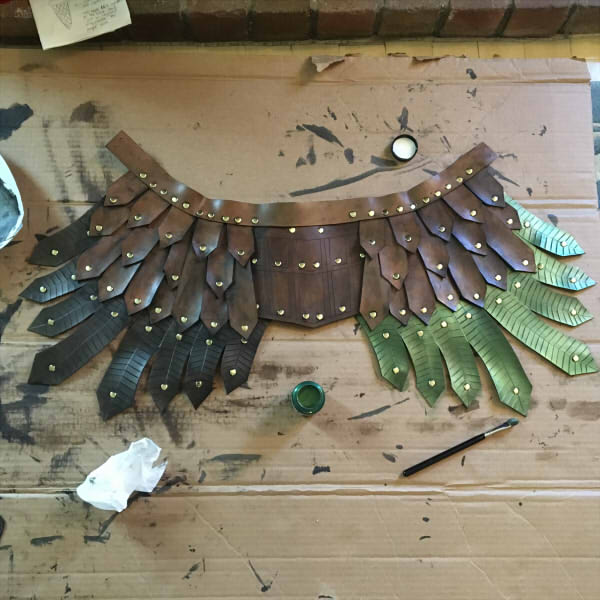
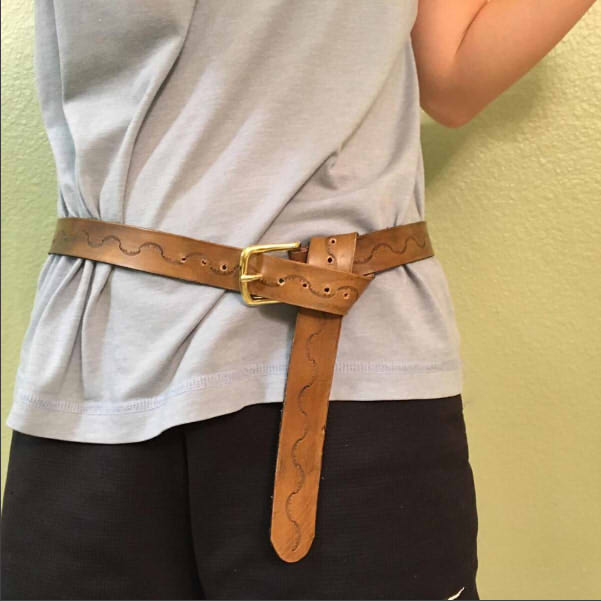
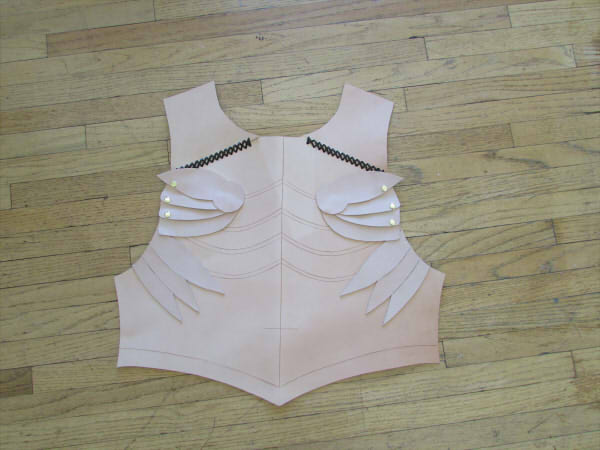
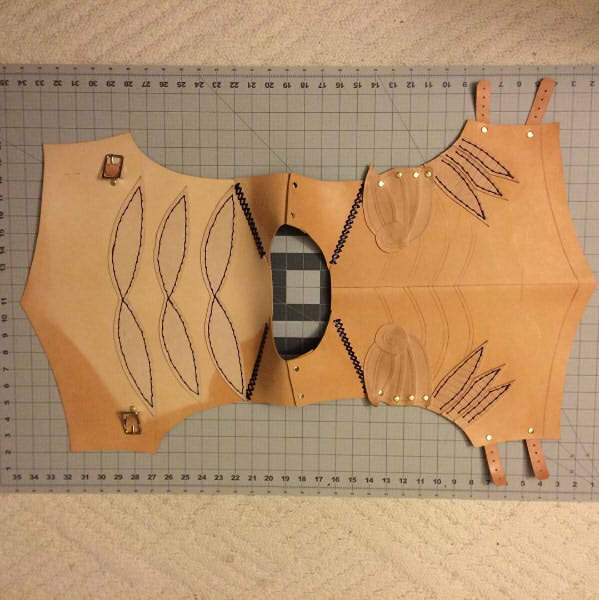
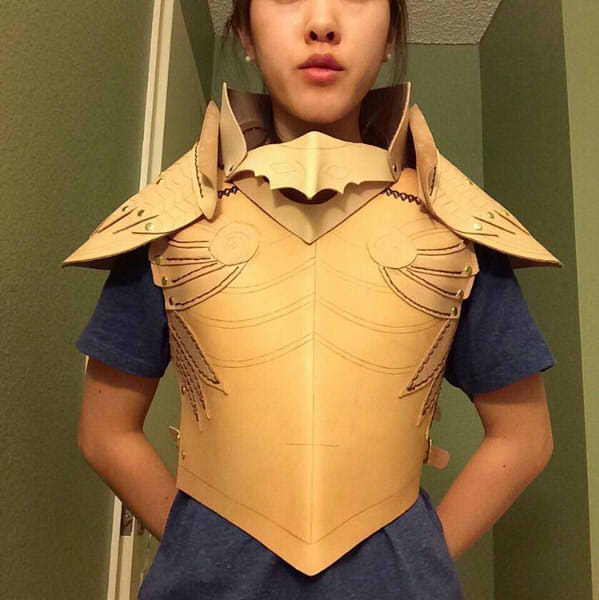
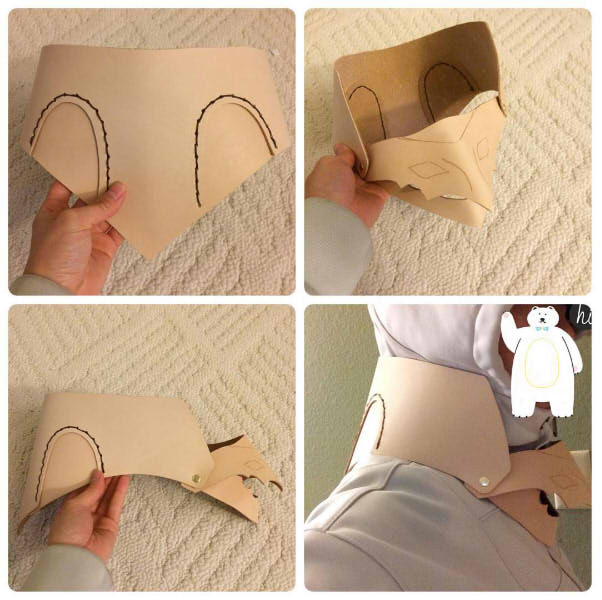
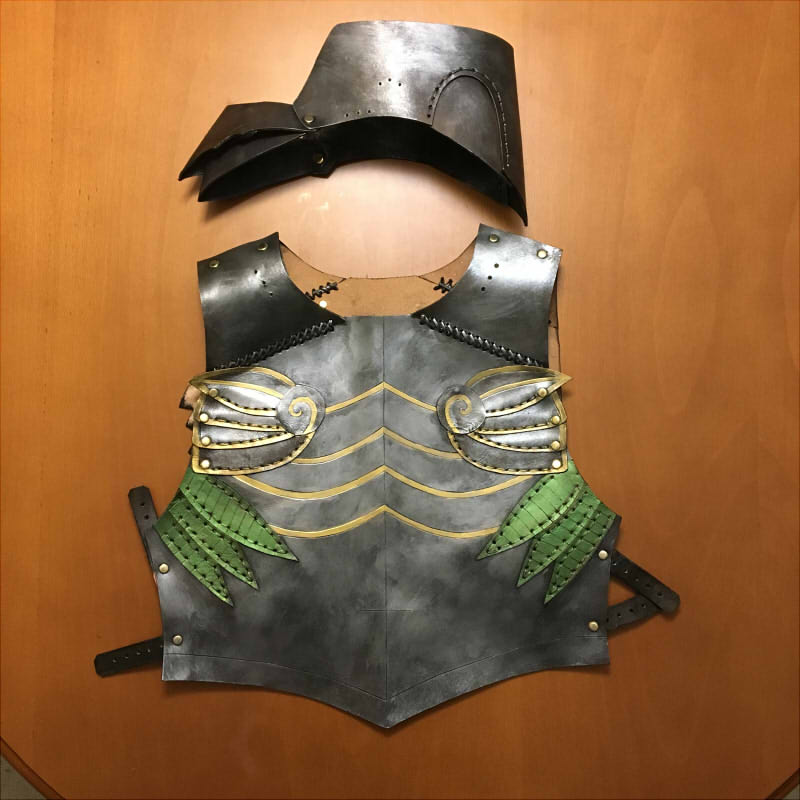
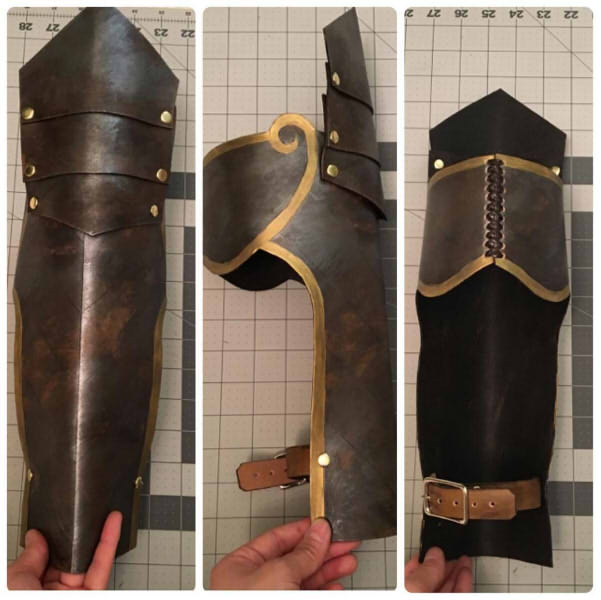
I keep telling myself that I want to be a more active blogger and have more frequent posts... but look at me. I procrastinated and put off my Skyrim post until now. Here, I'll be discussing the construction process of my Skyrim cosplay that I wore to AX 2016. 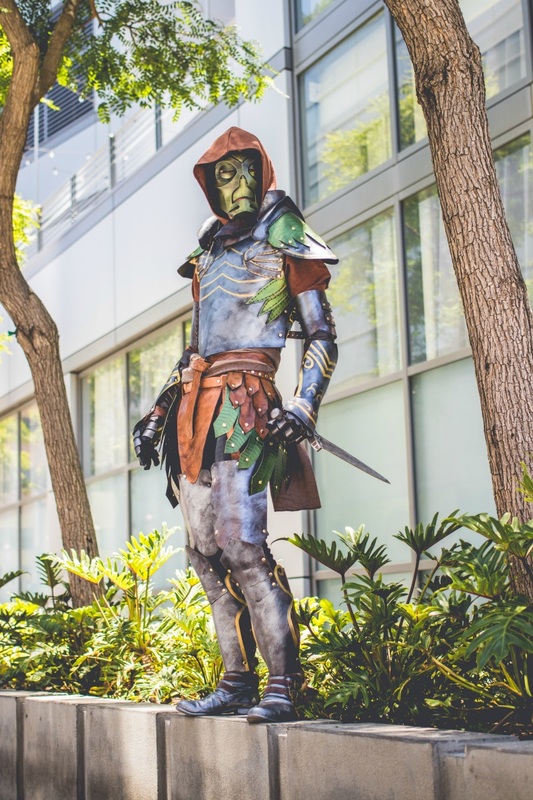  First, let me go over a little background info. In-game, I had a female Argonian that was wearing Elven Armor paired with a Dragon Priest mask. I wore these for a good chunk of the game so it didn't require a lot of thought for me to decide, "HEY! This looks like a good cosplay idea!" Though, when I actually sat down and started sketching out a rough draft I realized that I didn't want to make boob molds and opted for making the male version instead. I chose to make a recolored version based on this mod, because I felt it would be more visually striking than the original full brassy-gold. Progress Now let's get to the good stuff! Before working with any materials, I started with a small sketch of each armor piece. This made it easier for me to visualize all the components needed for creating the in-scale paper patterns later on. Here's some of the sketches I drew. 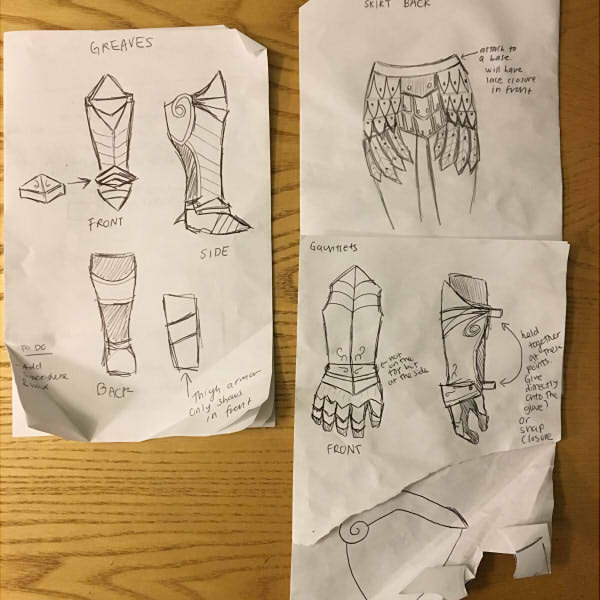 After getting an idea of how the front and back pieces attach to each other, ect. I made paper patterns that were scaled to my body. This process consisted of a bit of trial and error. I made measurements, sketched out the pattern, tried it on, made adjustments, tried it on, ect. When I found the patterns satisfactory, I rolled out my leather and placed the paper pattern on top (I decided to make the armor full-leather this time around, but if I was working with foam, it would be a similar process). Afterwards, I lightly traced the outline of the pattern onto the leather with a pencil (be careful because the pencil could scratch the leather and permanently show). Then depending on the thickness of the leather I cut out the traced leather with a pair of shears or a knife. Here are the bracers for example: 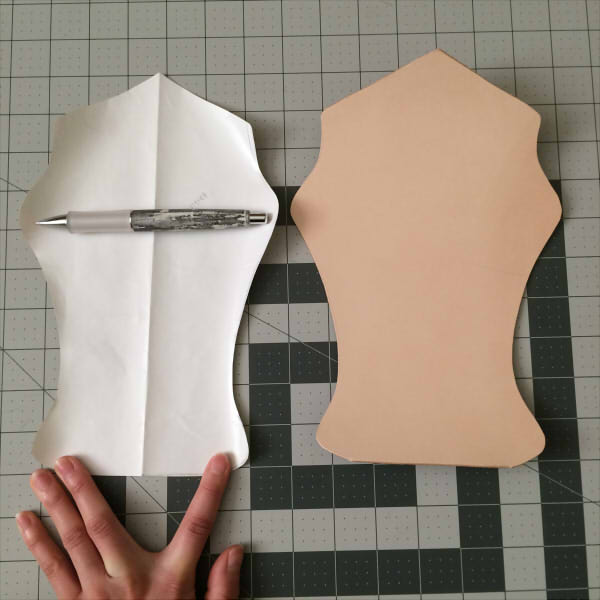 Then, after designs were added: 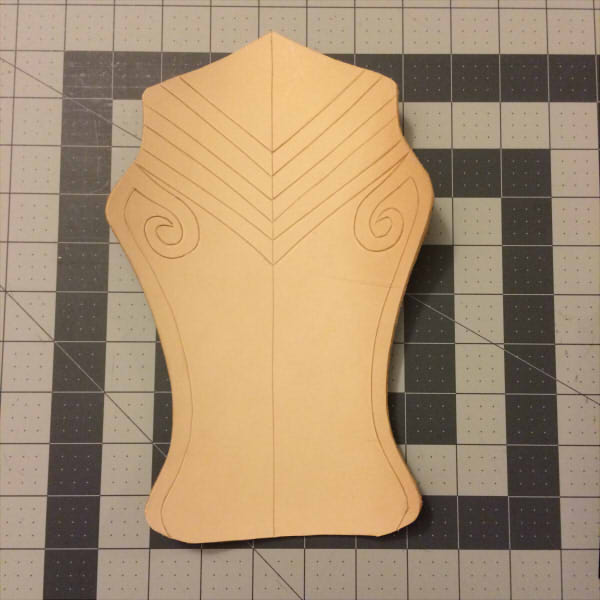 Once designs were done, I dyed the front and back of the leather with black leather dye (Dying the back is not necessary, but I just prefer its appearance). After the dye was dry, I dry brushed the leather with lumiere paints for color then let it dry again. I then applied a thin layer of satin shene leather finish, let it dry, then applied a leather conditioner on top. Here's are the fully assembled bracers and gauntlet: 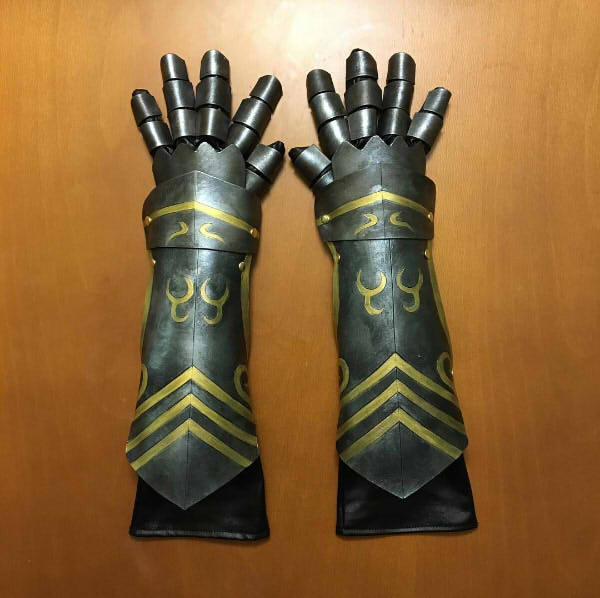 .Anyways, these are the steps that I take. But since I may or may not be handling the leather "correctly" it'd probably be better to do some extra research if you're interested in working with leather! Here are some more progress pictures to give you an idea of my work process: Hope this helps!
0 Comments
|
AboutHi I'm RQ and this is where I blog about my cosplay and daily life.
*I'm taking a break from cosplay.
Looking back at what I wrote in my posts make me cringe, but I'll leave this blog up in case people still want to use my cosplay progress/WIPs as a resource for their own projects. Categories
All
Archives
July 2017
|
 RSS Feed
