|
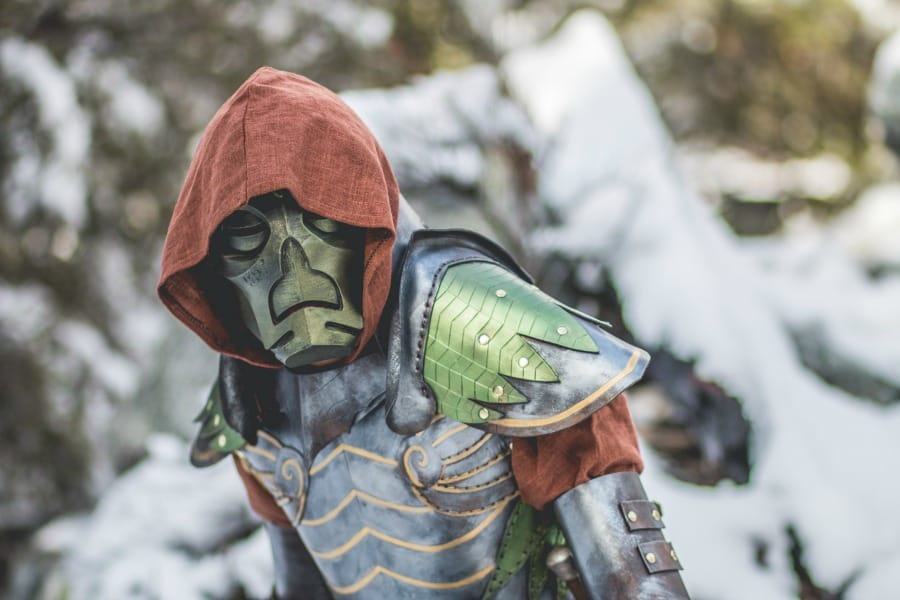
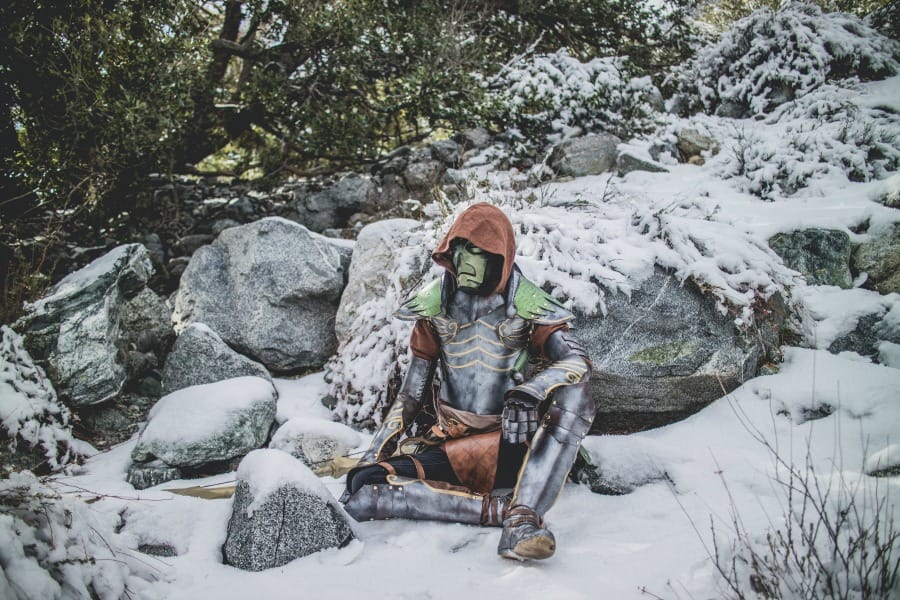
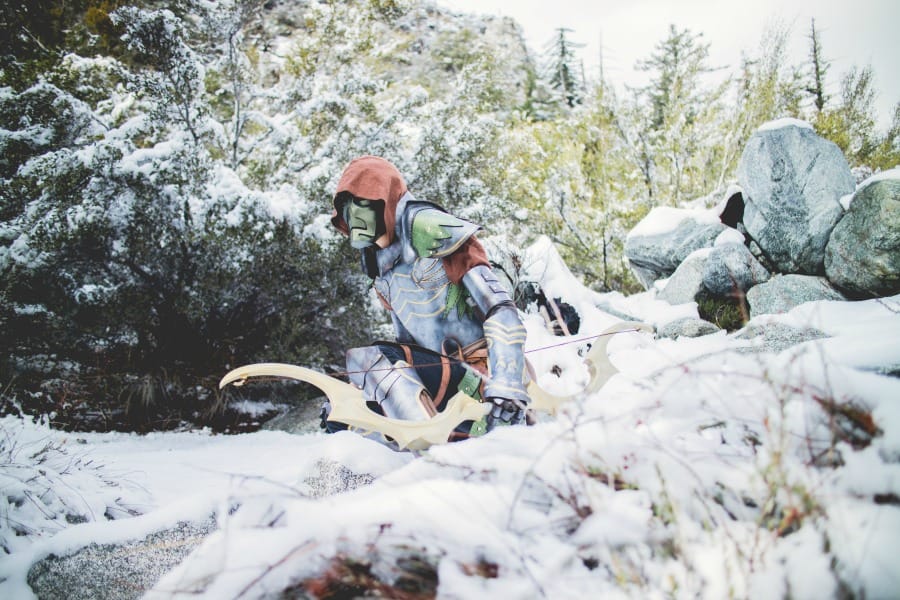
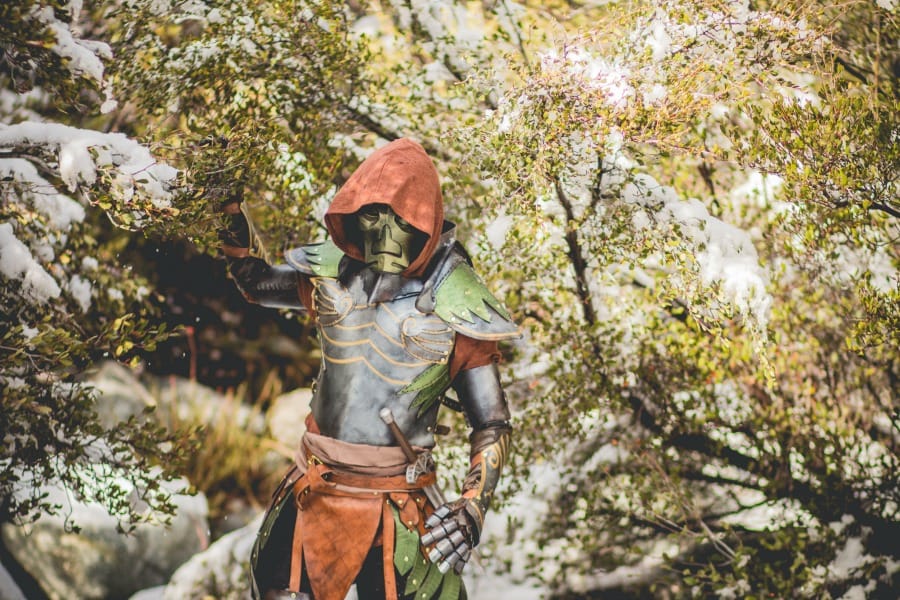
I recently went to Mt. Baldy with HB to take photos of my Skyrim cosplay. We tried going a previous time, but I forgot my chestplate and we ended up only hiking instead. Oops. This time around I didn't forget anything (Ok, I forgot my hair tie but that's not that important) and there was lots of snow, so everything went great! 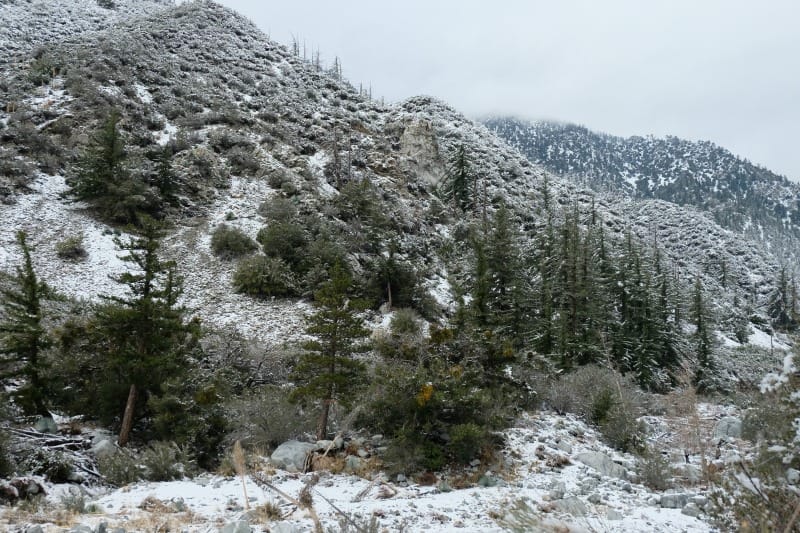 We didn't have to drive very far up the mountain for our surroundings to change from dull green to a vivid wintery landscape. Since the snow was recent there were a lot of people around, but we found an area that was more secluded. 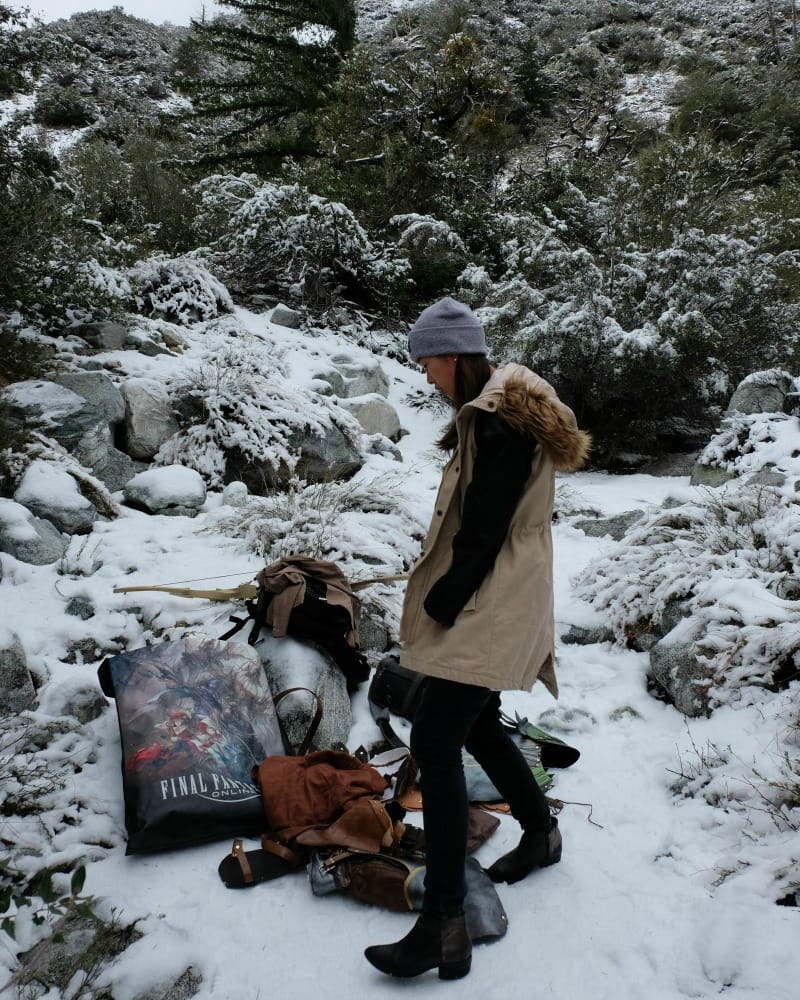 I carried my things in a giant FFXIV bag. 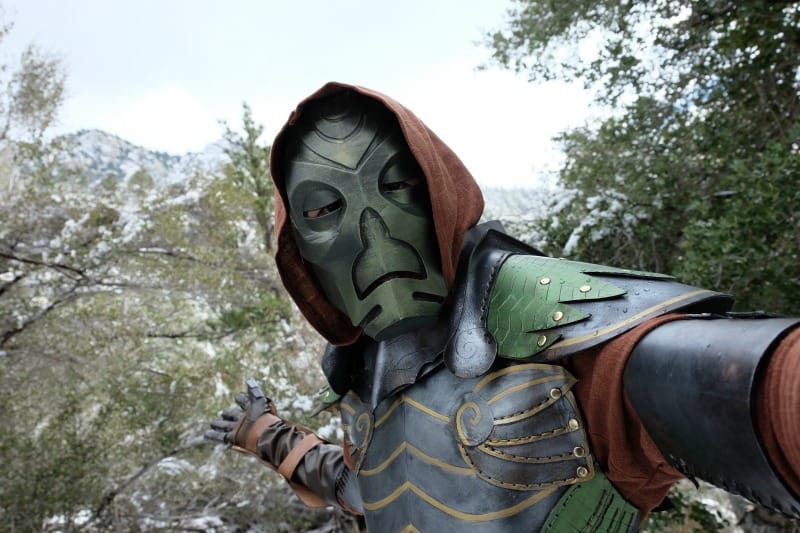 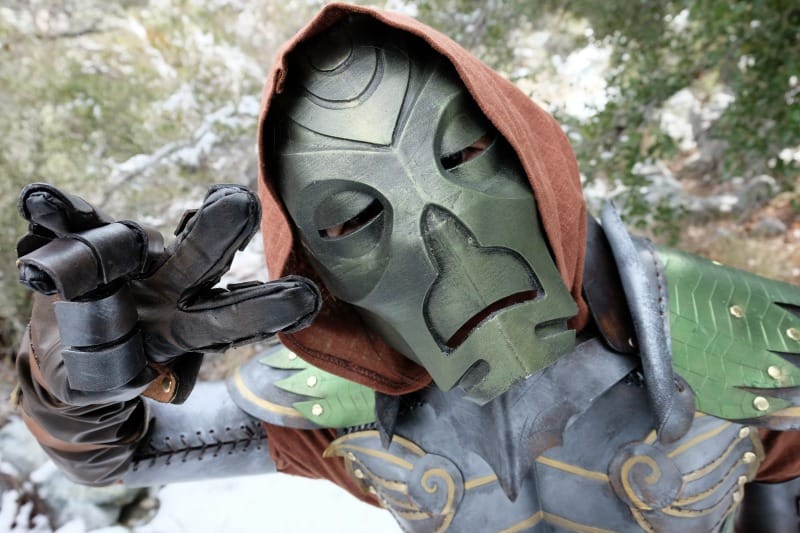 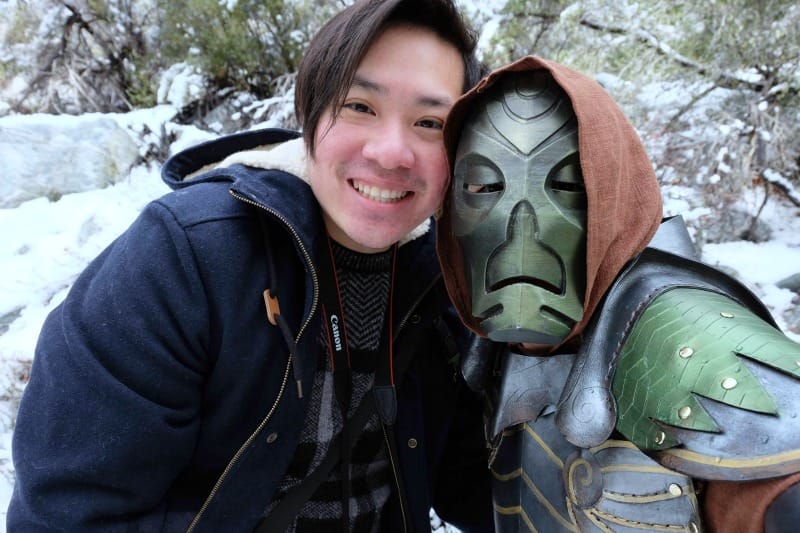 Selfies are expected right??  HB also caught a photo of me slipping and falling on my butt. Was laughing when I saw this. Here are the first set of pictures: Photographed and edited by harvestbuddy. 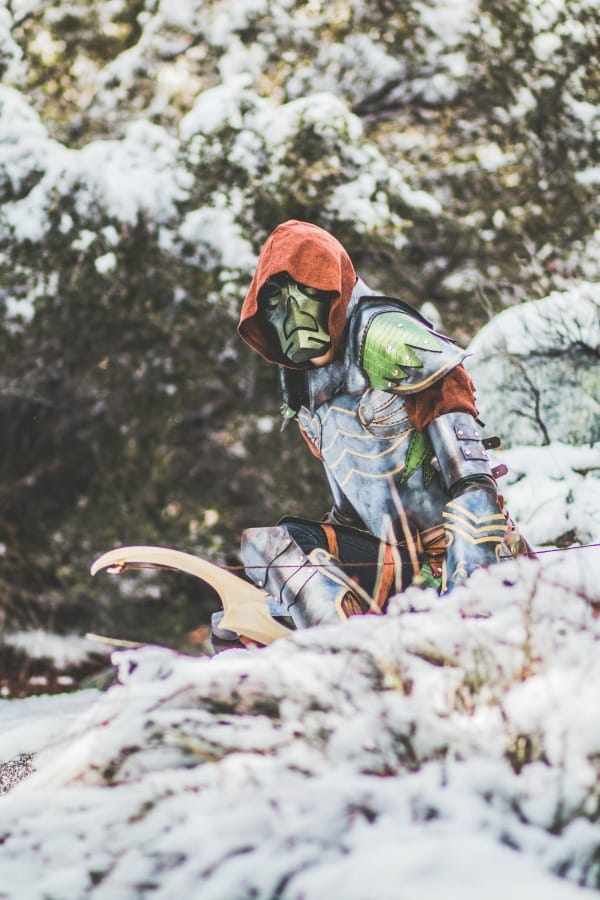 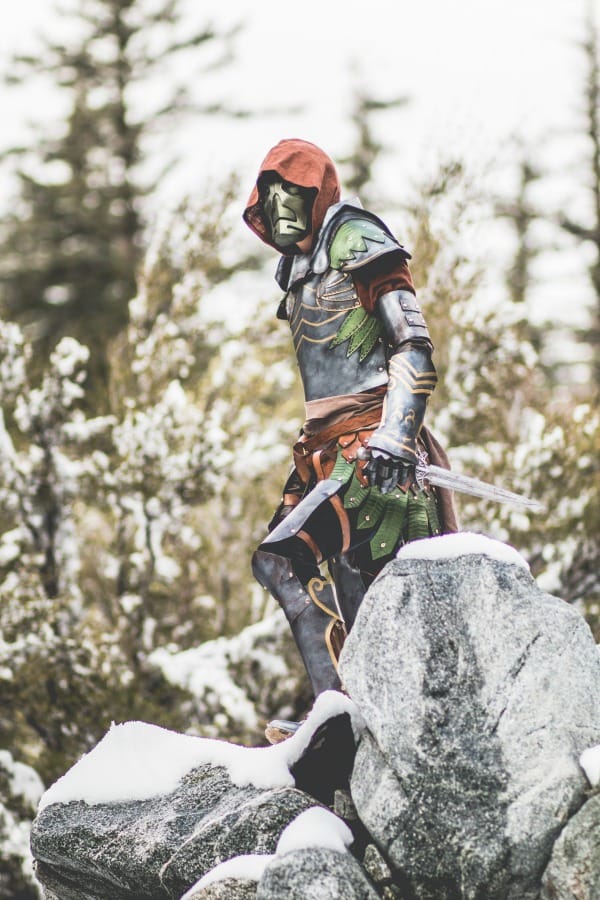 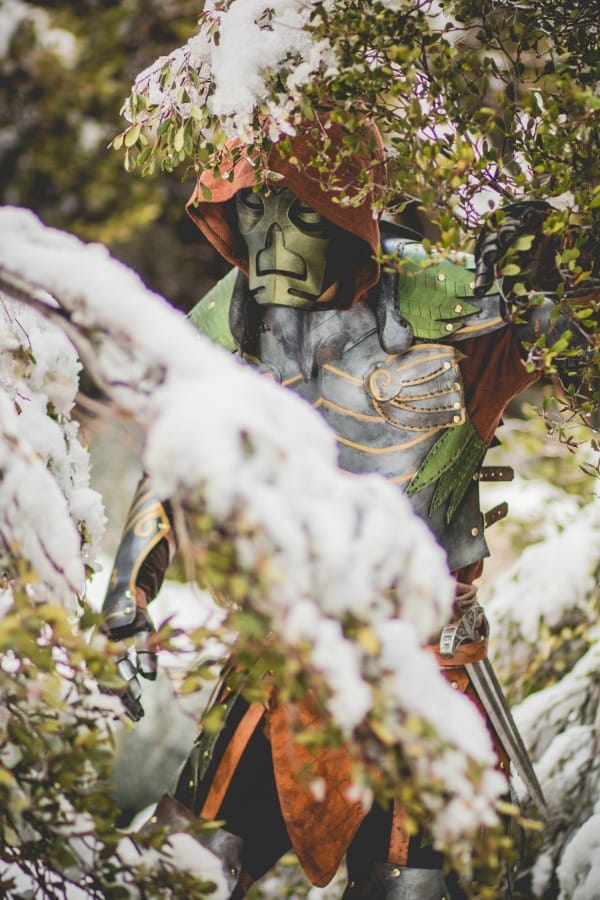 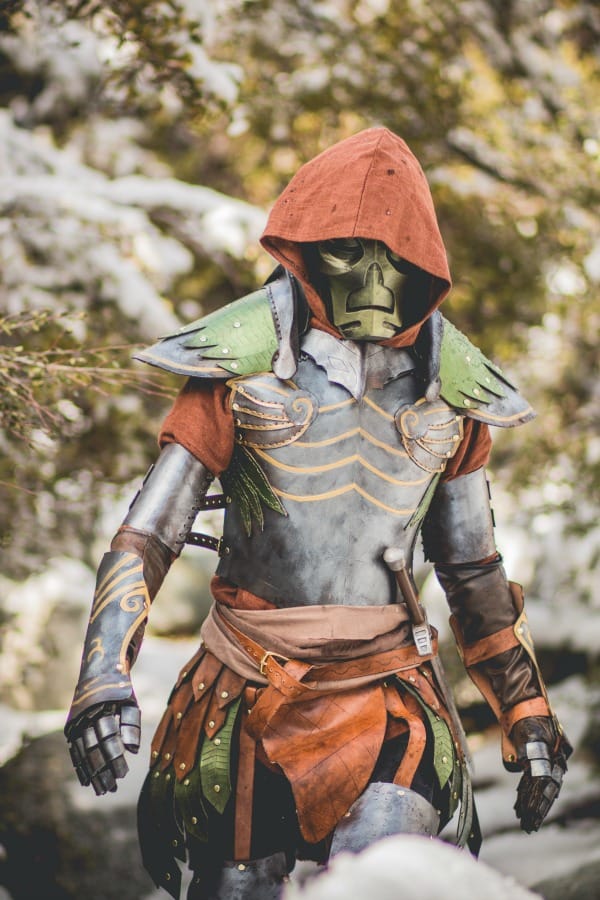 Sooo happy with these.
More to come later!
0 Comments
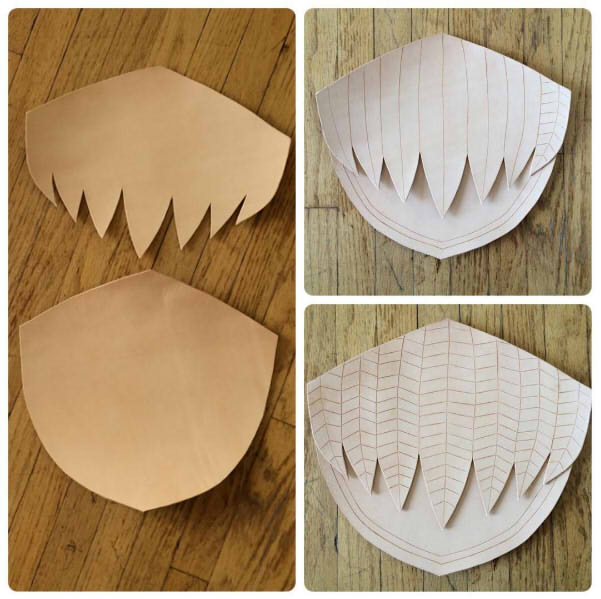
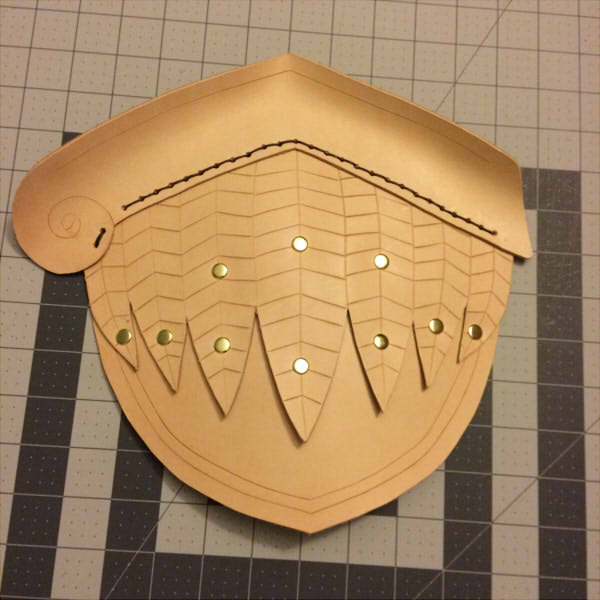
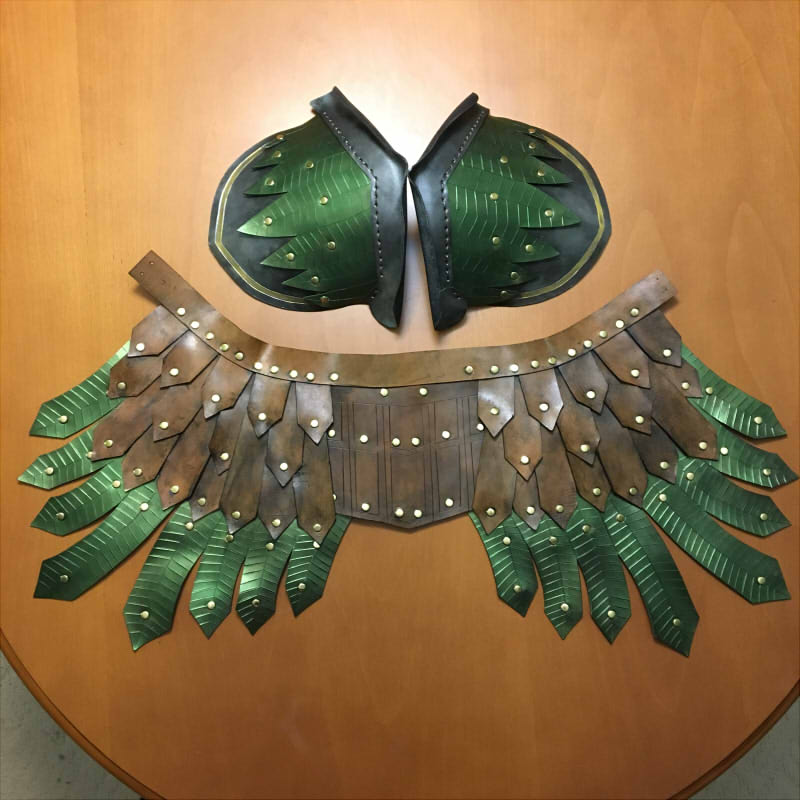
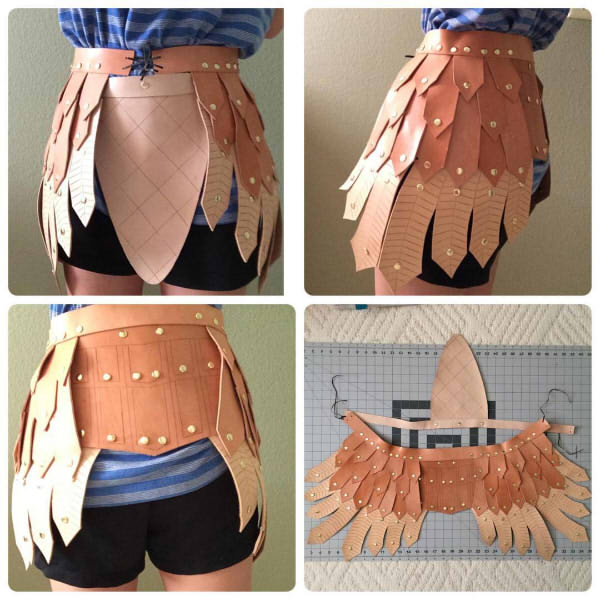
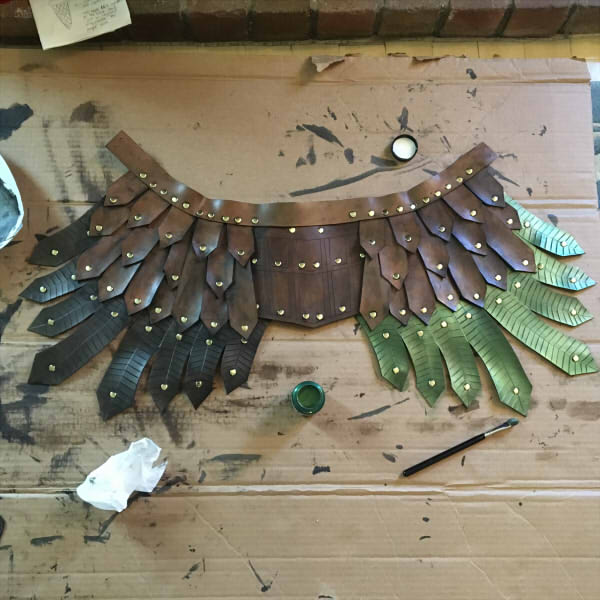
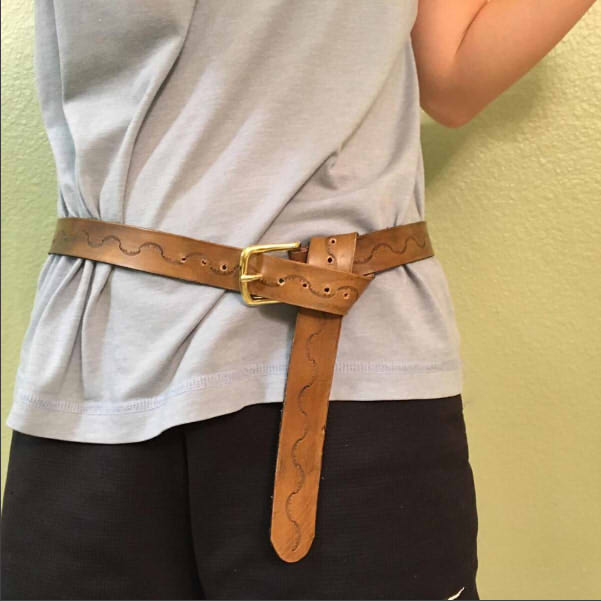
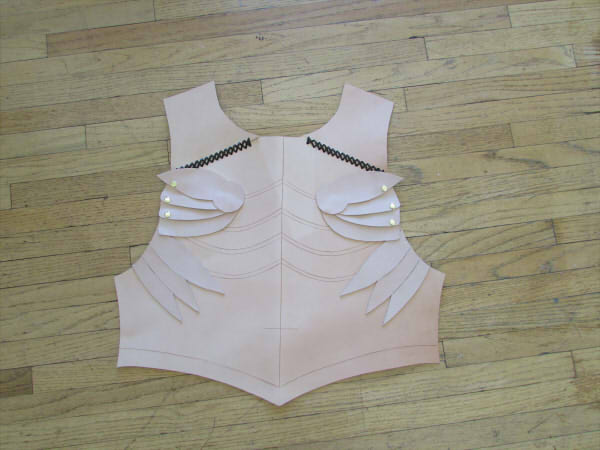
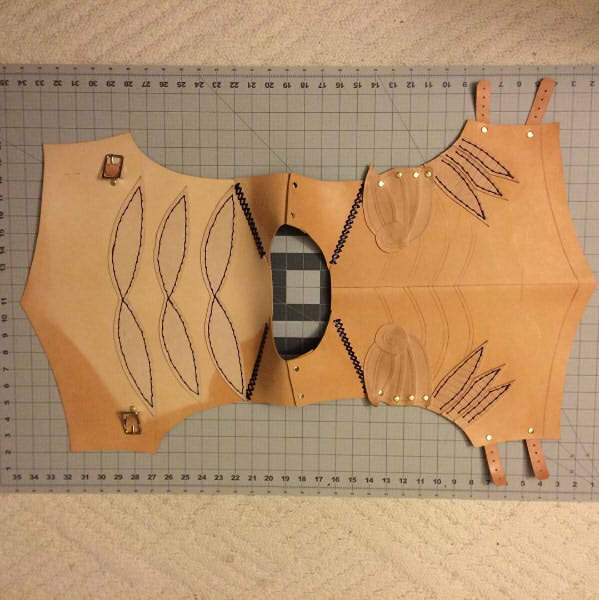
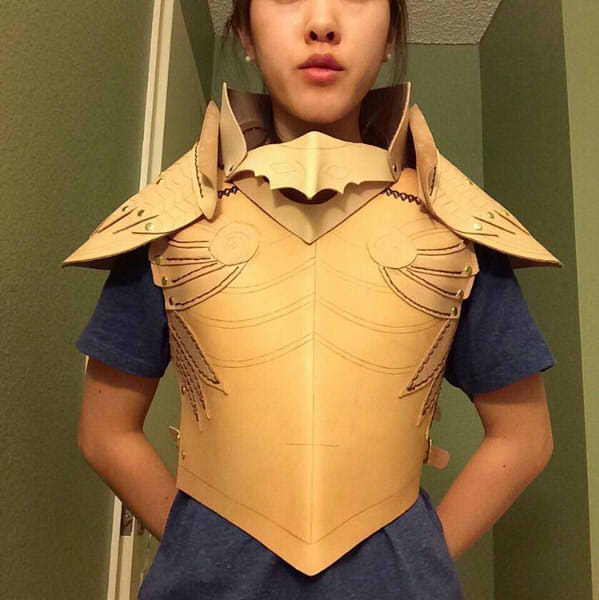
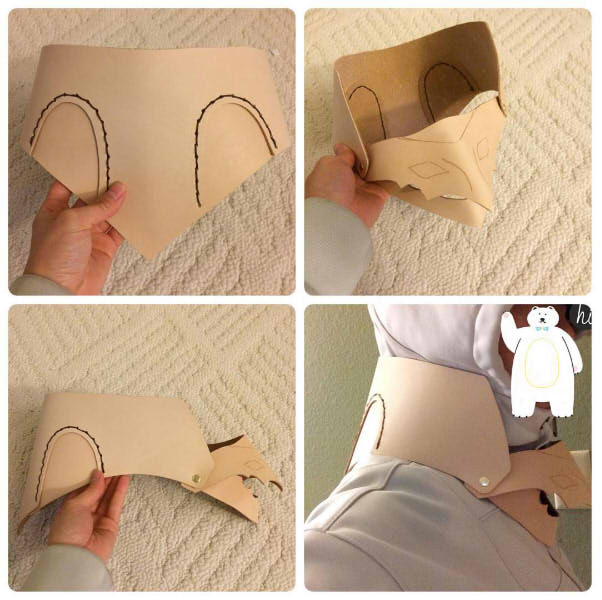
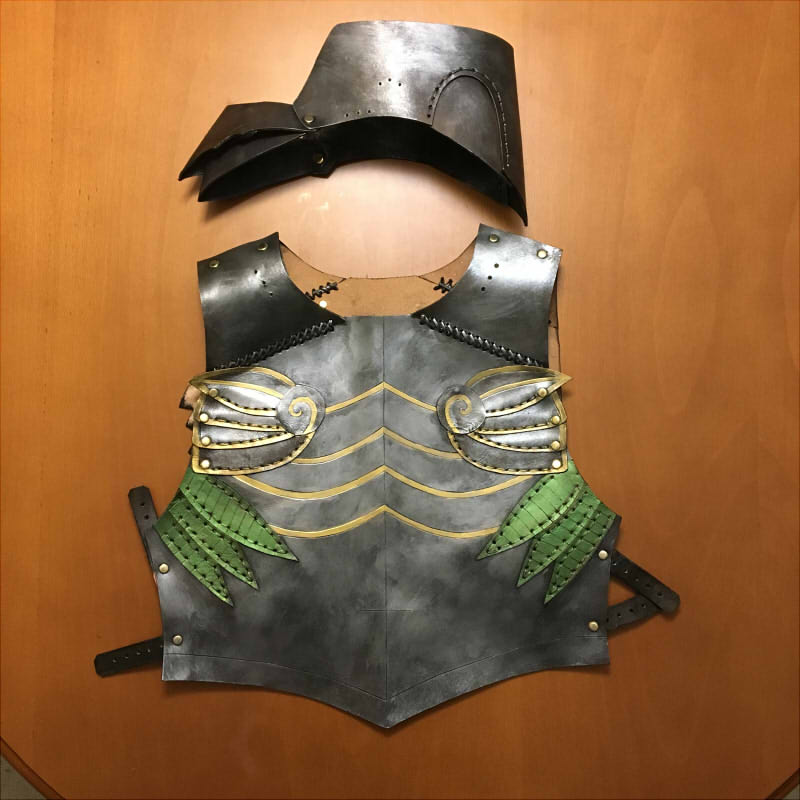
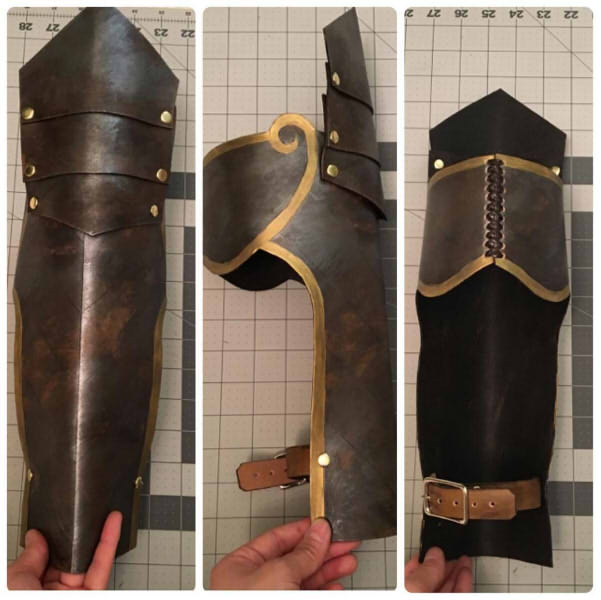
I keep telling myself that I want to be a more active blogger and have more frequent posts... but look at me. I procrastinated and put off my Skyrim post until now. Here, I'll be discussing the construction process of my Skyrim cosplay that I wore to AX 2016. 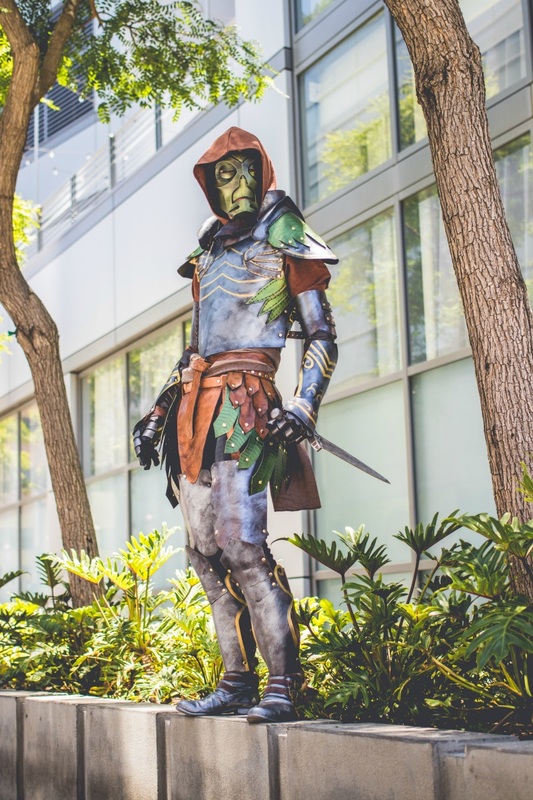  First, let me go over a little background info. In-game, I had a female Argonian that was wearing Elven Armor paired with a Dragon Priest mask. I wore these for a good chunk of the game so it didn't require a lot of thought for me to decide, "HEY! This looks like a good cosplay idea!" Though, when I actually sat down and started sketching out a rough draft I realized that I didn't want to make boob molds and opted for making the male version instead. I chose to make a recolored version based on this mod, because I felt it would be more visually striking than the original full brassy-gold. Progress Now let's get to the good stuff! Before working with any materials, I started with a small sketch of each armor piece. This made it easier for me to visualize all the components needed for creating the in-scale paper patterns later on. Here's some of the sketches I drew. 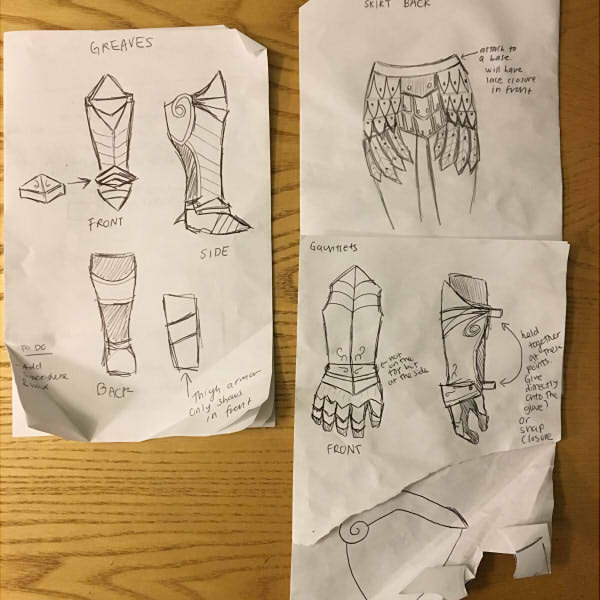 After getting an idea of how the front and back pieces attach to each other, ect. I made paper patterns that were scaled to my body. This process consisted of a bit of trial and error. I made measurements, sketched out the pattern, tried it on, made adjustments, tried it on, ect. When I found the patterns satisfactory, I rolled out my leather and placed the paper pattern on top (I decided to make the armor full-leather this time around, but if I was working with foam, it would be a similar process). Afterwards, I lightly traced the outline of the pattern onto the leather with a pencil (be careful because the pencil could scratch the leather and permanently show). Then depending on the thickness of the leather I cut out the traced leather with a pair of shears or a knife. Here are the bracers for example: 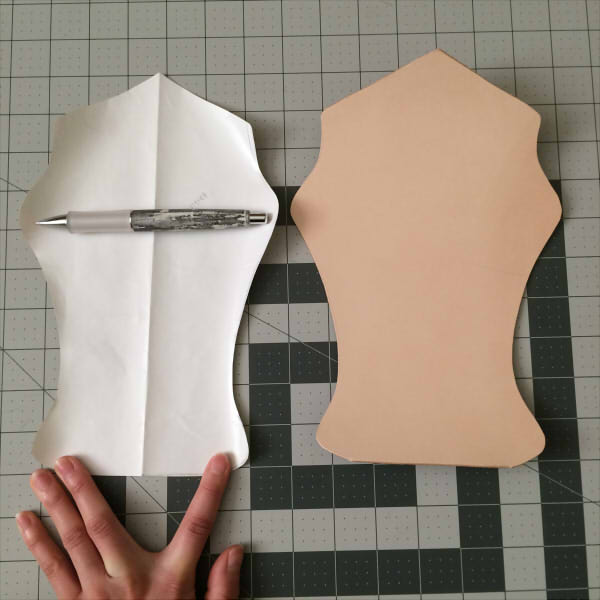 Then, after designs were added: 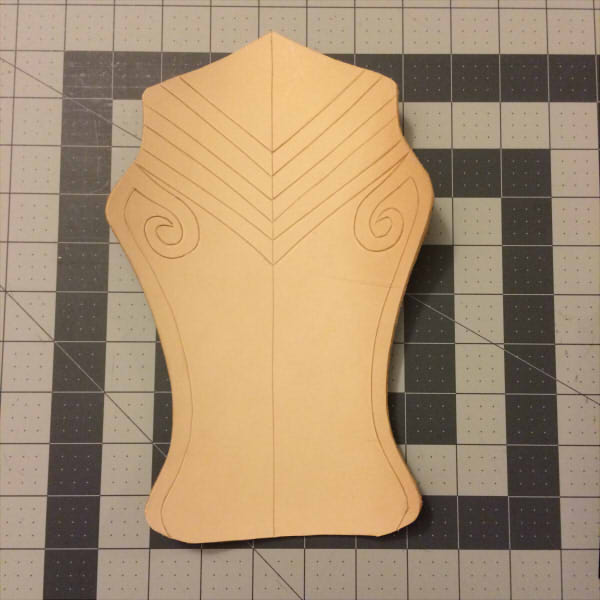 Once designs were done, I dyed the front and back of the leather with black leather dye (Dying the back is not necessary, but I just prefer its appearance). After the dye was dry, I dry brushed the leather with lumiere paints for color then let it dry again. I then applied a thin layer of satin shene leather finish, let it dry, then applied a leather conditioner on top. Here's are the fully assembled bracers and gauntlet: 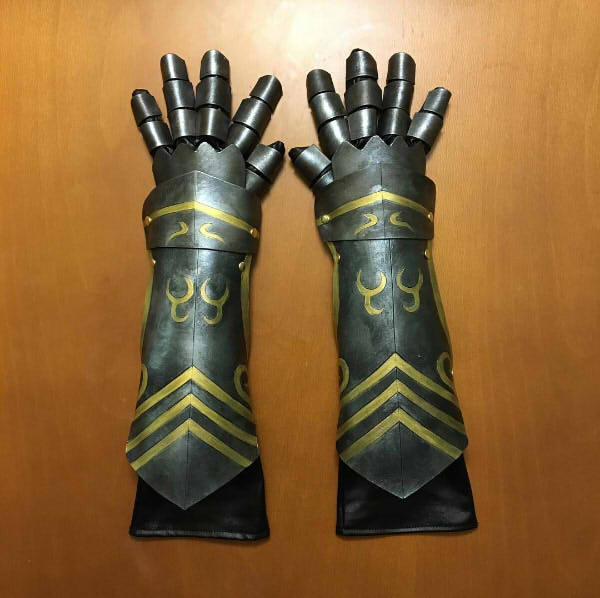 .Anyways, these are the steps that I take. But since I may or may not be handling the leather "correctly" it'd probably be better to do some extra research if you're interested in working with leather! Here are some more progress pictures to give you an idea of my work process: Hope this helps!
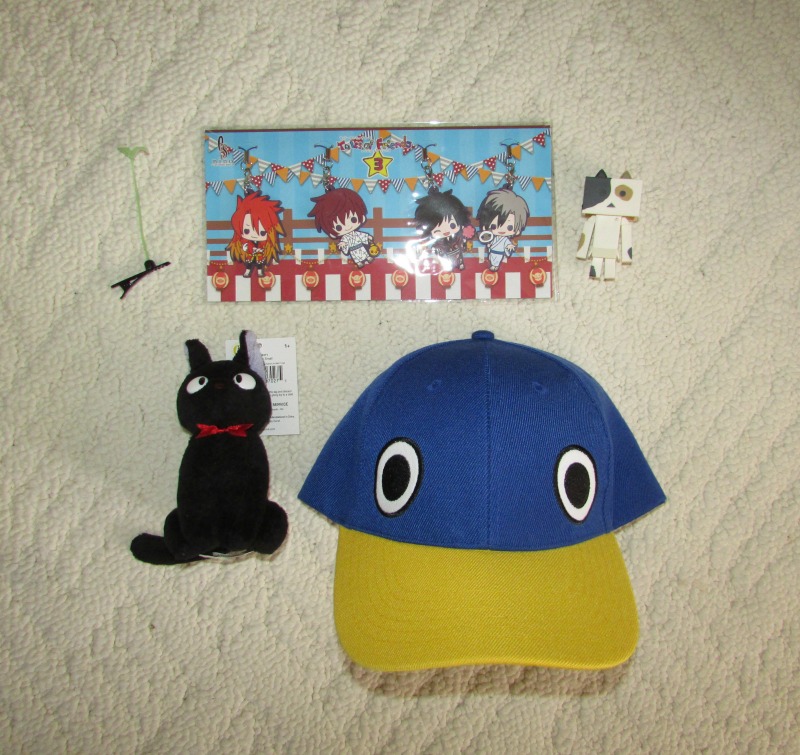
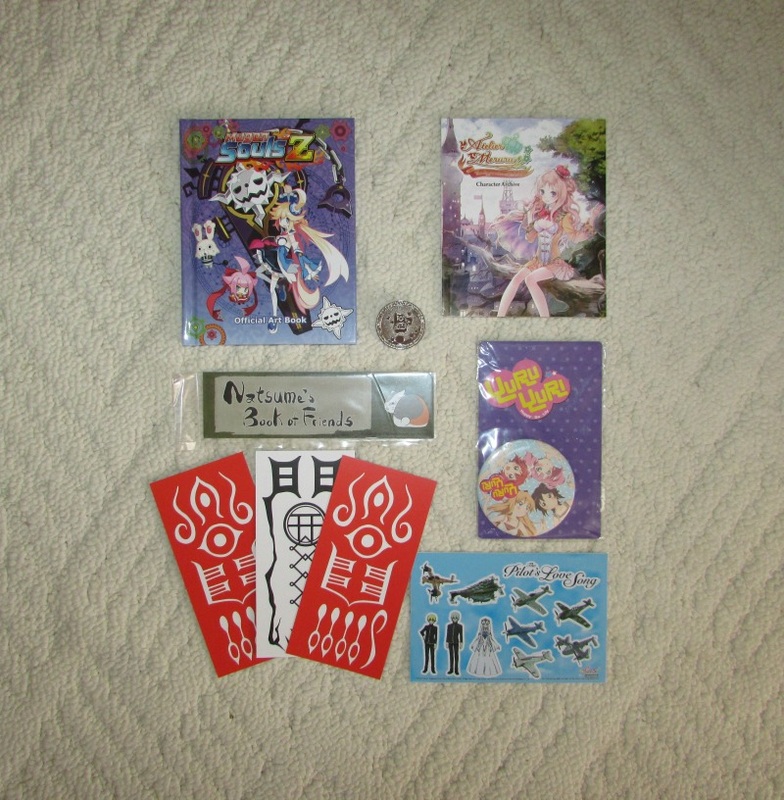
This year I attended Anime Expo for all four days and stayed in a hotel with six other people. The weekend went by smoothly. For this year's con, I wanted to cosplay both Skyrim and Disgaea 5 (for Red Moon Day!), but I wasn't able to complete my Disgaea costume on time. The wig was killer, and I couldn't finish styling it. It's alright though, because I can just wear it to future cons ^^. Here are pictures of my Elven Armor from Skyrim: 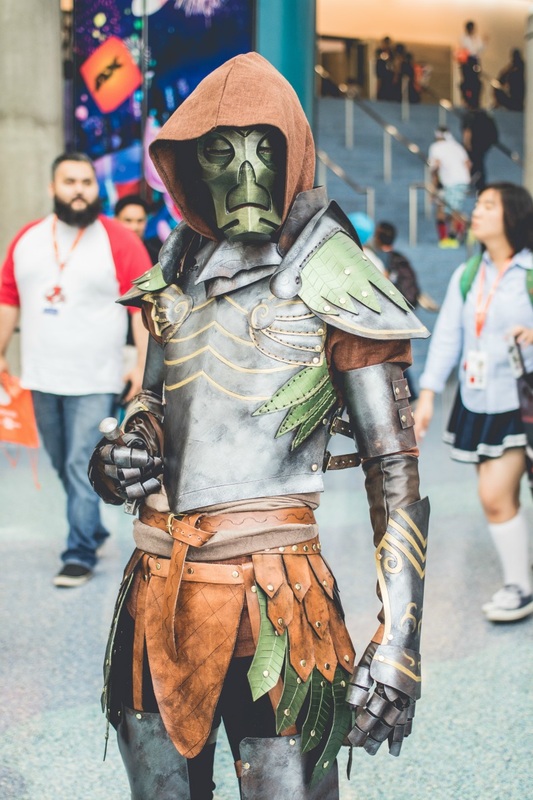  I had originally wanted to make an Argonian tail to match my in-game character but I wasn't sure how to tackle the tail. I might attempt to make it in the future though. (I'll include more information on my costume construction in a separate blog post.) Anyways, I dressed in Skyrim for two hours on Saturday and half-day on Sunday. While I was in costume I met an Argonian Maid and freaked out. She was super cute.  I also took a picture with the giant NIS Prinny twice. Once while I was in costume, and once while I was out. 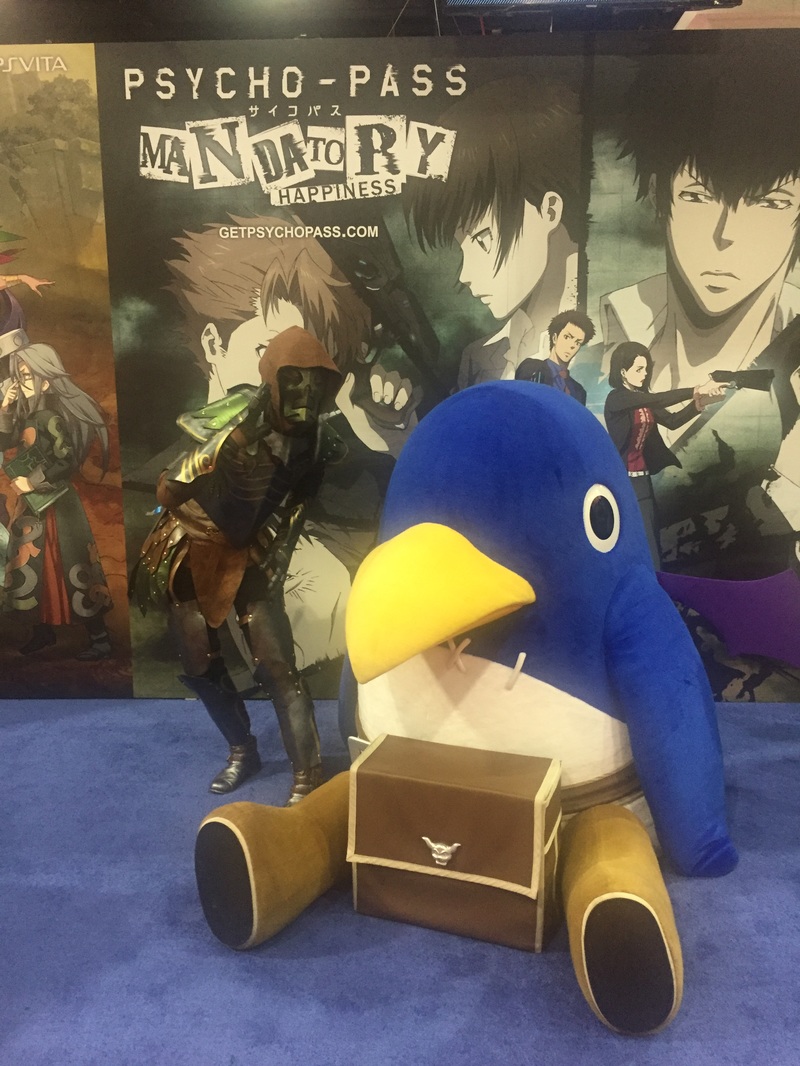 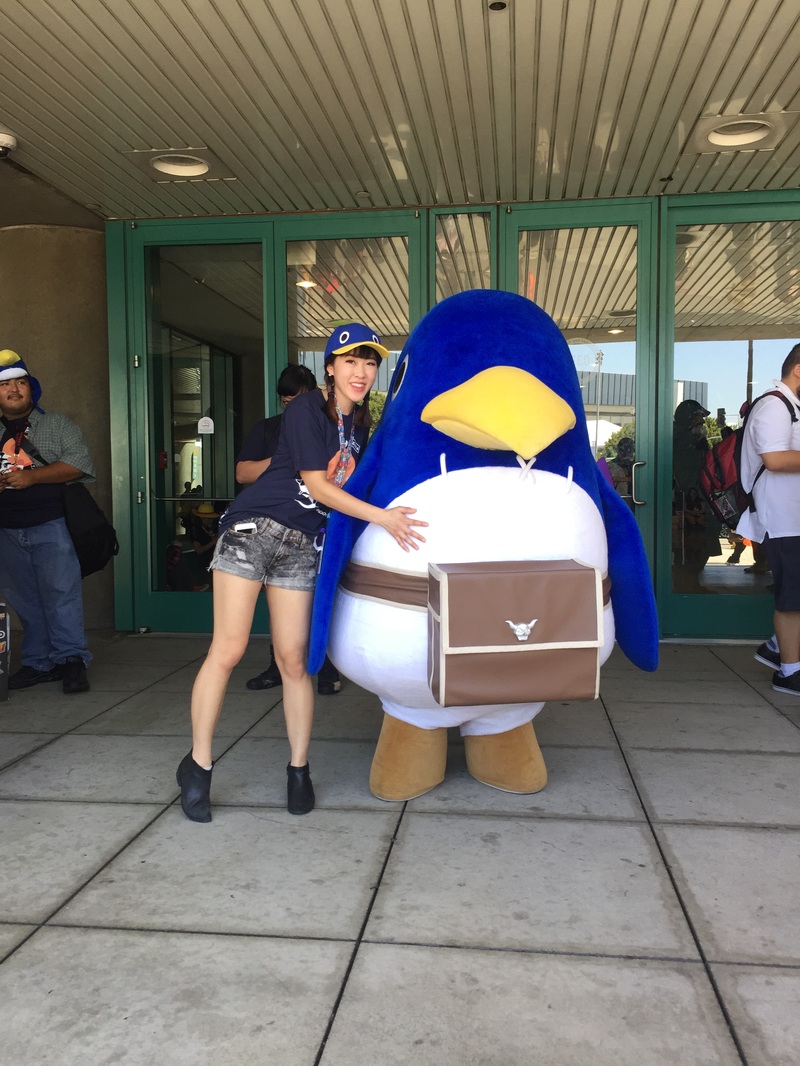 I bought a Prinny hat specifically to wear it to the Red Moon Day gathering lol. When I got there, the NIS staff gave out free stuff and a very premium looking silver pin. Sometime during the expo, I also found an amazing Tales stand in the exhibit hall. I love Luke, Ludger, and Jude so ofc I had to take a picture. I don't know much about Asbel though. I will probably love him too if I play the game (which I will, eventually). 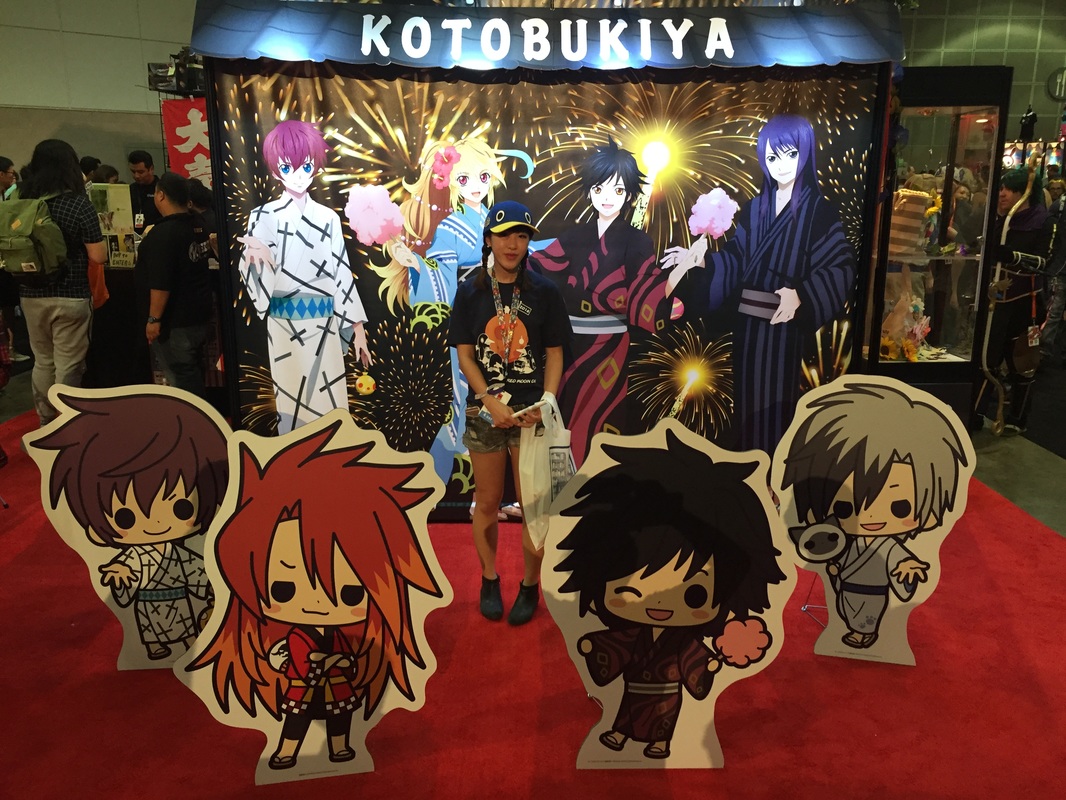  Other interesting things happened while I was at con too, but as usual, I didn't take too many pictures. Now on to the merchandise! Some of these were bought, and some were free. 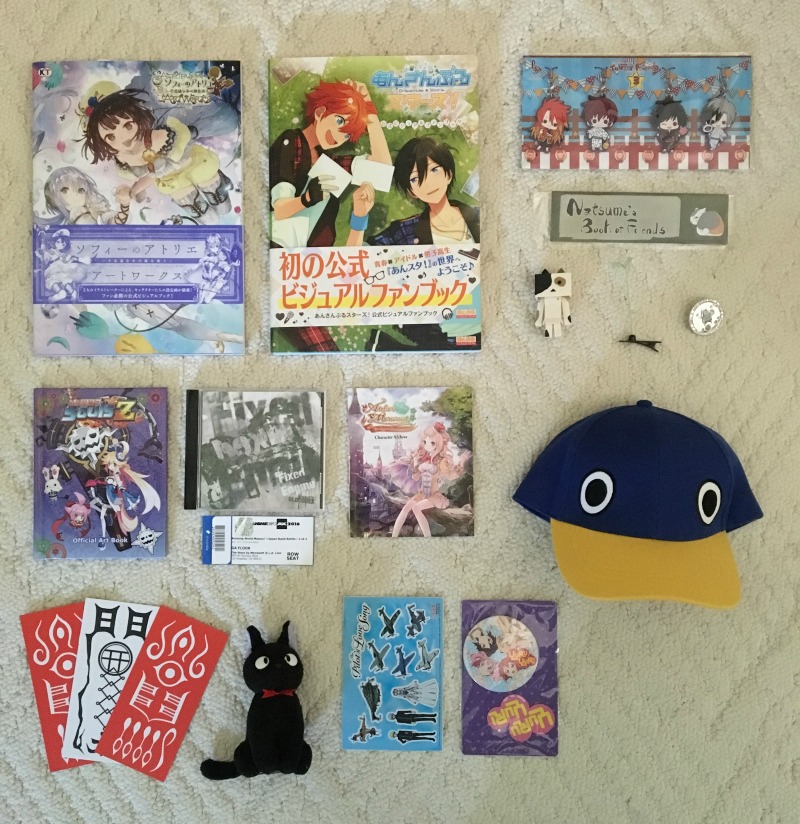 Left: Sprout Clip, Tales Keychains, Nyanboard, Gigi Doll, Prinny Hat
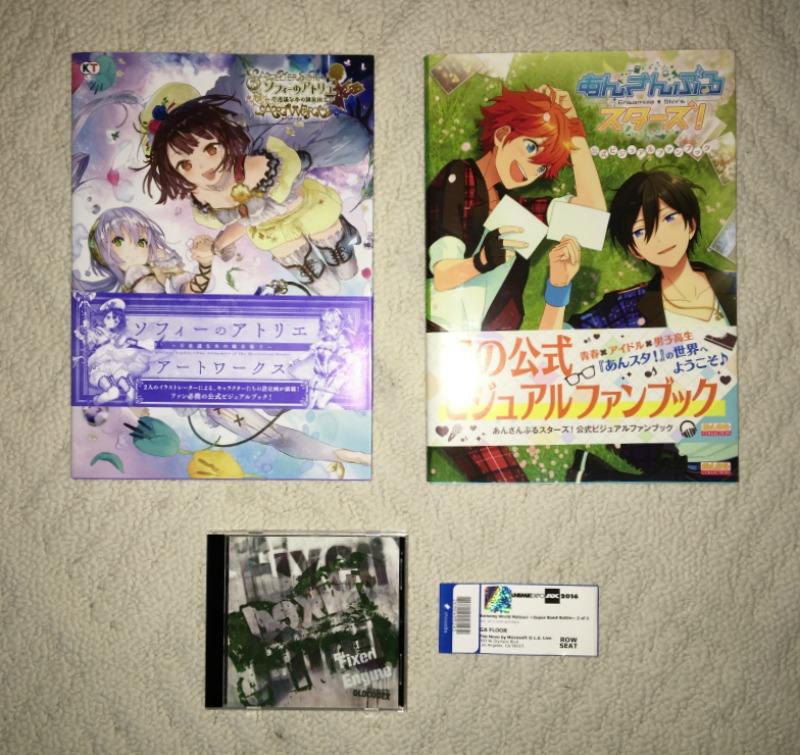
Center: Atelier Sophie Art Book, Ensemble Stars Art Book, OLDCODEX CD, and ticket stub Right (all the free stuff): Mugen Souls Art Book, Prinny Pin, Atelier Meruru Art Book, Natsume Yuujinchou bookmark, Yuru Yuri Pin, Twin Star Exorcist Talismans, The Pilot's Love Song Stickers One more thing I gotta mention! The concert for OLDCODEX and FLOW was really good! I wanted to get FLOW's CD as well, but it was sold out. I never went to any of the AX concerts before, so this was a real treat. Y'know how sometimes bands sound different in-person compared to their audio files? Well, they sounded great in-person too. So I'll be going to future concerts from now on. That wraps up my post. The next cons I'll be attending are probably Anime California and Anime Los Angeles (Not 100% for either though). Did another casual cosplay: Yato from Noragami! Noragami makes me teary one moment, and laughing during the next. Last year I was going to cos Kofuku and went ahead and bought her wig. But as time passed, I couldn't resist Yato and ended up being him instead. I might still consider Kofuku in the future though. Here are the list of products I used for Yato: Wig: ebay. I got the color "purple-black". I cut, styled, and pinned this wig after I got it. Please note that this wig has a slightly smaller circumference than average wig-sizes (so it may not fit everyone). Tracksuit: ebay (seller: cosyyphk). I suggest getting a size up. I normally wear US small, but I got a medium for this one. A word of warning though! I first bought Yato's outfit from the seller "vogue20100928" and their product picture was very misleading. When I received the costume, the colors were off, and the stripes on the tracksuit were dark cerulean blue instead of white or icy blue (I must sound super picky right now, but the colors just looked very not-yato). The size of the costume also looked like it was meant for juniors? I was pretty miffed about the whole thing (although I have myself to blame too bc I didn't want to sew it). Anyways, I ended up having to buy another tracksuit from a different seller and was sooo much happier afterwards. So yeah, do NOT buy the yato costume from "vogue20100928." Scarf: Cut up fabric from Joann's Shoes: I reused my Elite Knight boots Contacts: I used desiolens in innocent white when I wore this to ALA, but during the photoshoot I was wore green lenses that were photoshopped blue post-photo. Photoshoot: Photos and editing by harvestbuddy. 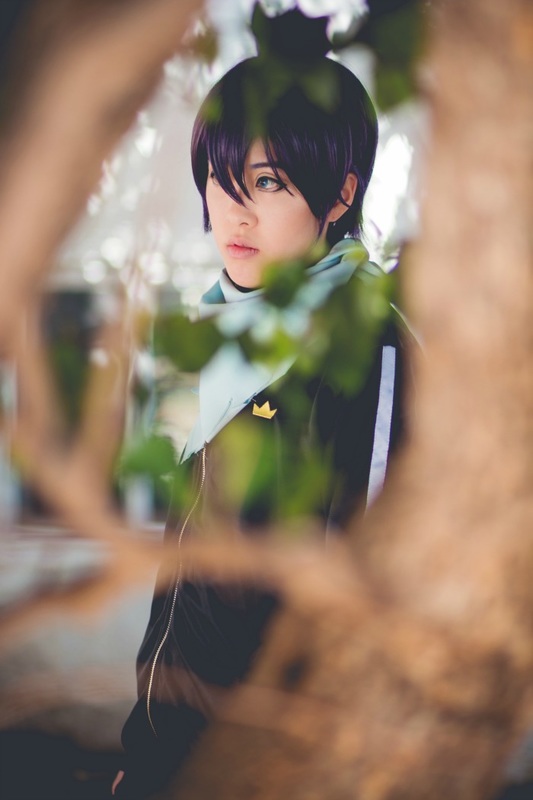 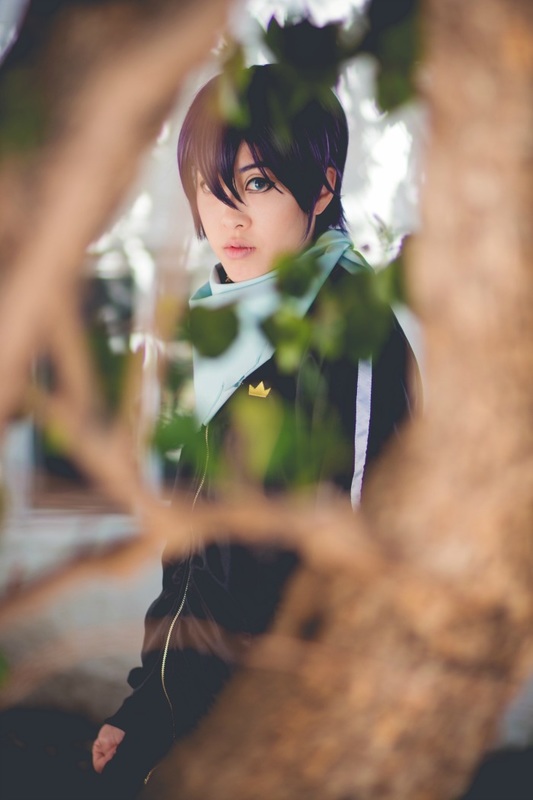 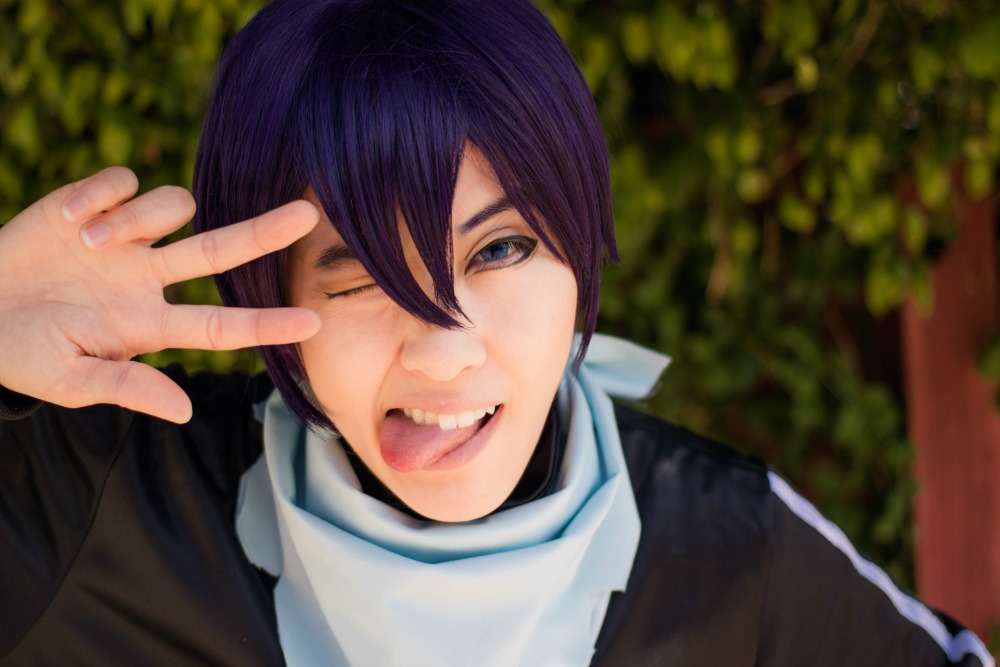 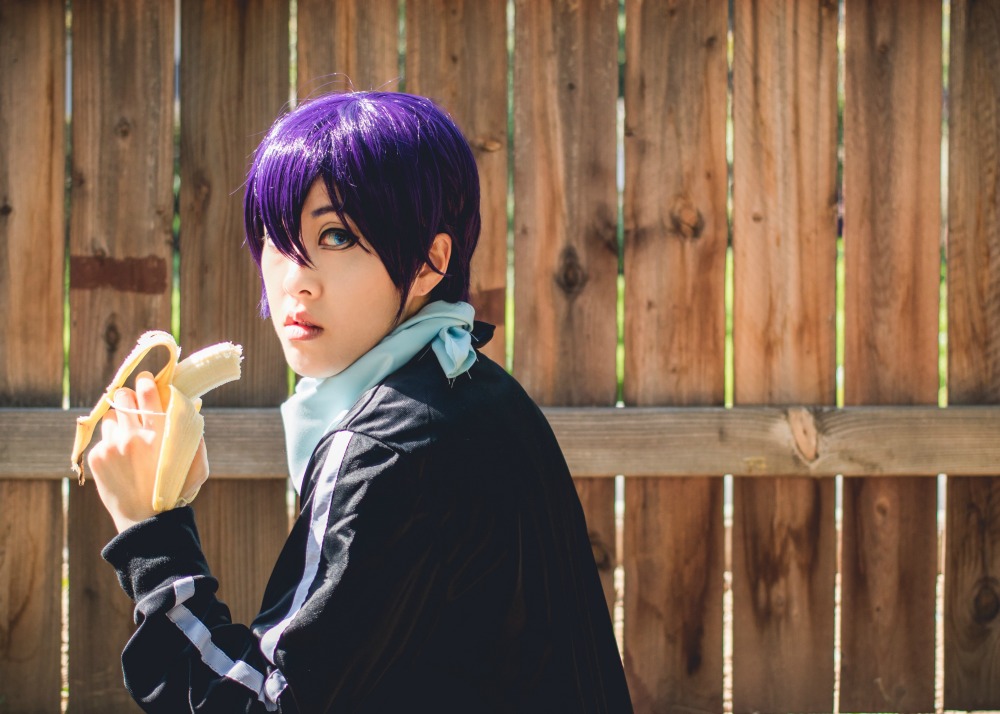   I have two banana pictures because I loved both ;; 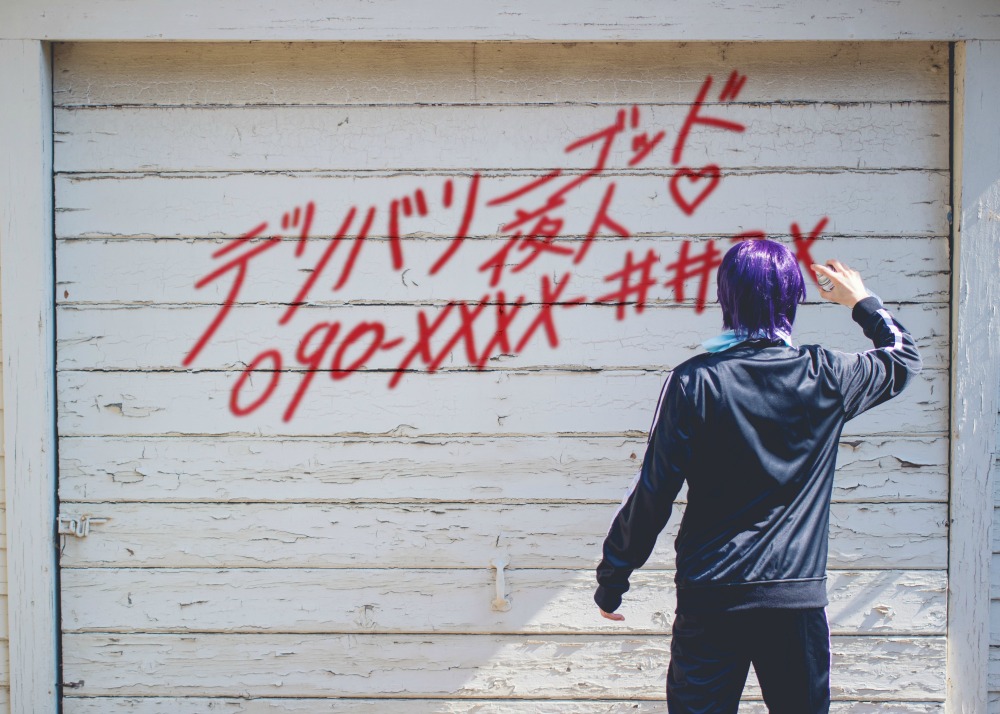 Yato is always advertising himself, but since I didn't want to actually go out vandalizing property, a transparent text file was photoshopped into the picture instead.  Those are all the photos for now! I'm already excited for my next shoot though, because it's going to be with dokitude as Bishamon. Couple/group cosplay is always so much fun ; 7 ;
I got more photos from my Prince of Persia (2008) shoot I did last year! (If you want to see the other pictures they can be found here) Photography by harvestbuddy. 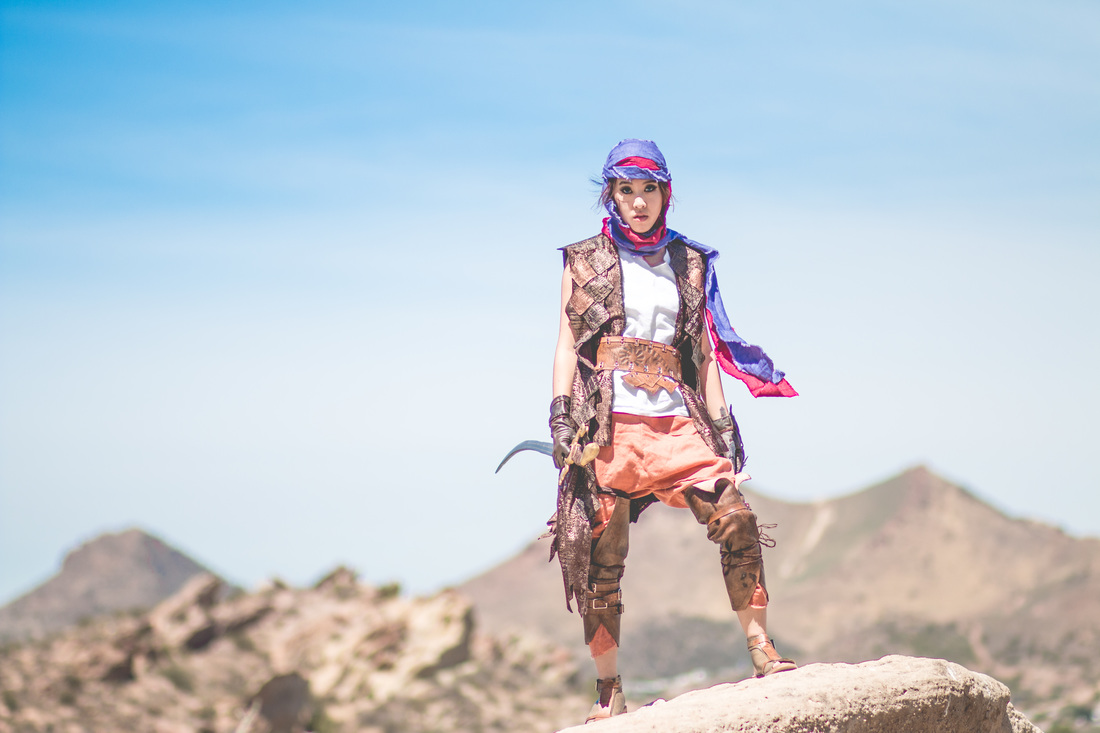 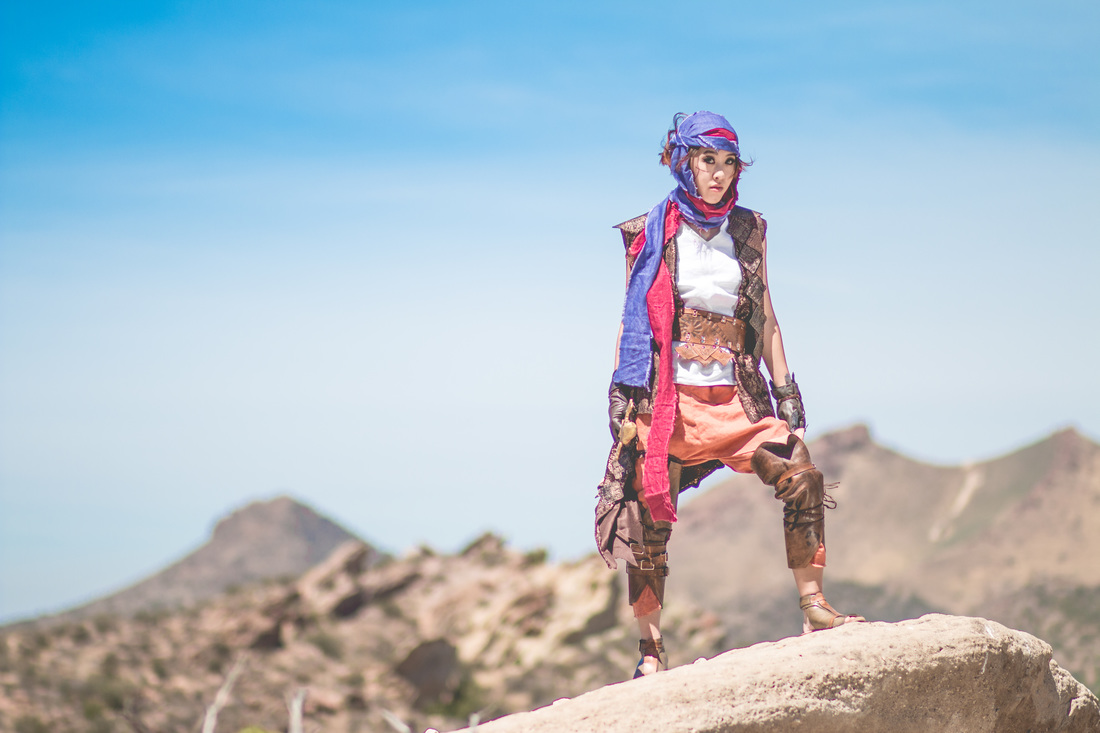  I couldn't decide which angle I liked so I asked HB to edit all of them for me lol. 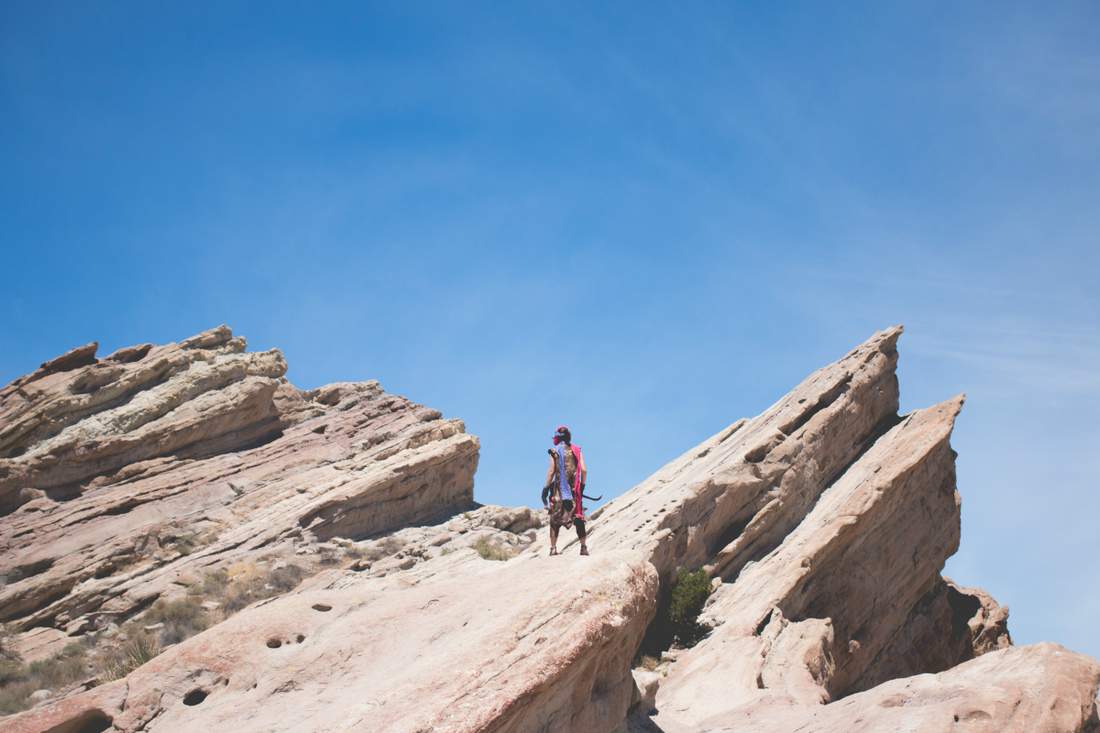 That's it! The next cosplay shoot I'll be doing is likely Yato from Noragami :)
I had the opportunity of going to Anime Los Angeles on Friday and Saturday (Jan 29 & 30)! I didn't have any cosplays made/prepared for the con so I went with an online-bought costume of Yato from Noragami on Friday (I didn't like the scarf it came with so I bought fabric and cut it up instead. For shoes, I reused the boots I wore for my Dark Souls cosplay). 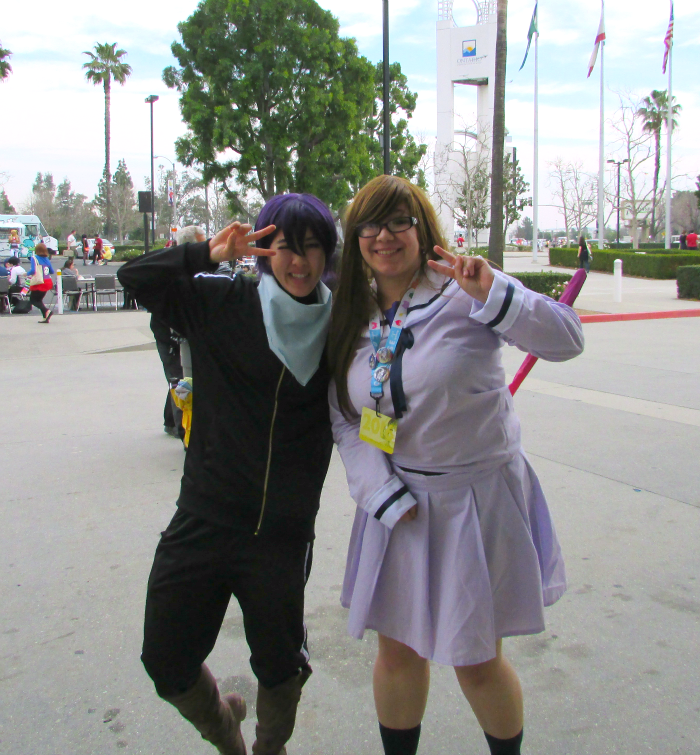 Here I am with a Hiyori ❤ (I should have asked her for her IG) After seeing this picture, I think I have to add more cuts to the scarf... There were a handful of Noragami cosplayers so that was great! But I didn't really say hi to all of them??? I was totally admiring them from afar though. Here are a few pictures from the con: 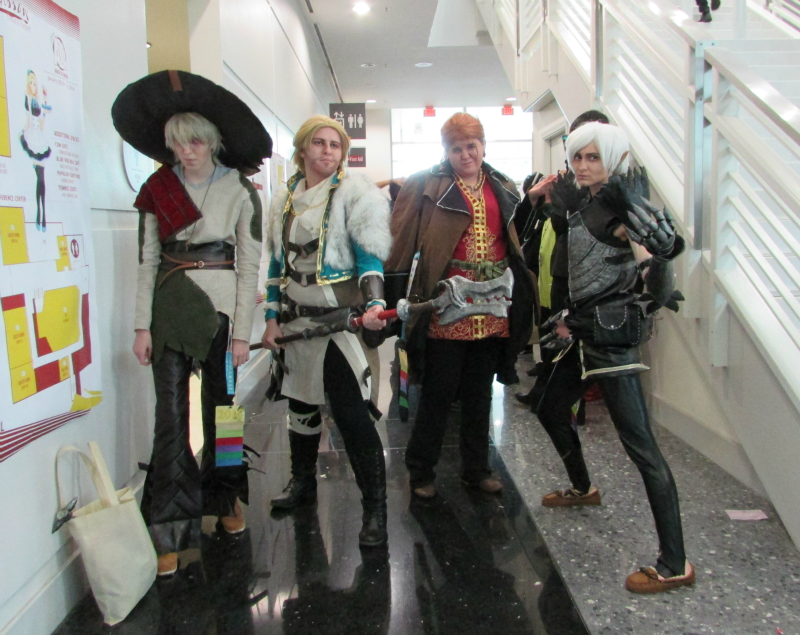 Dragon Age!! They all looked so good! 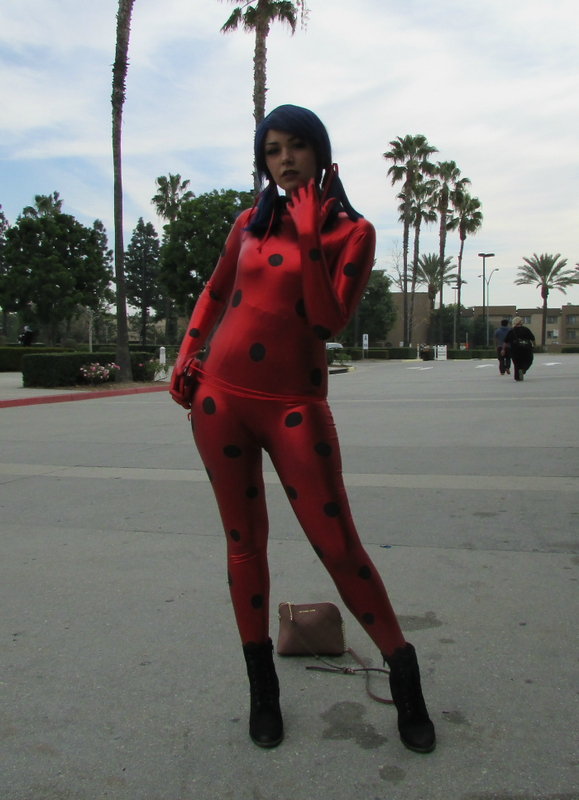 Ladybug from Miraculous Ladybug. Do you guys watch the show? I want to try cosplaying Cat Noir. 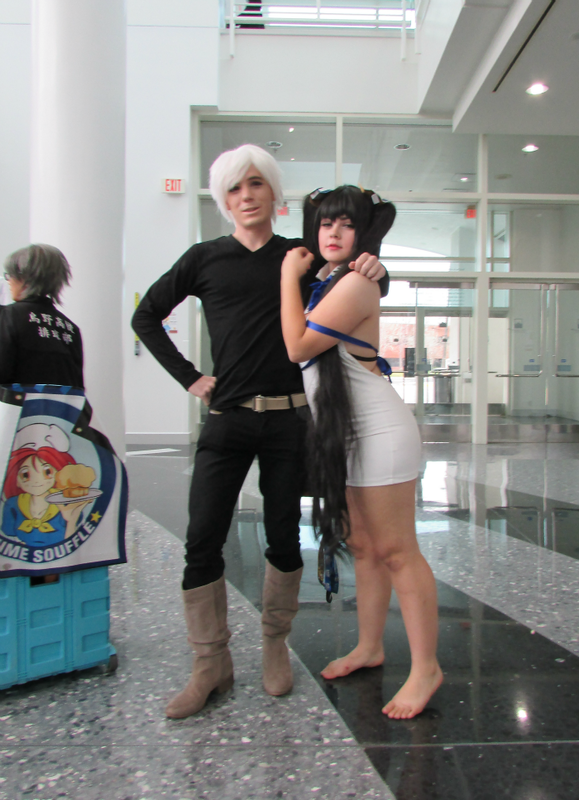 Danmachi! Hestia and Bell. They looked super cute together but once I got home I realized that the picture wasn't even in focus?! I like a lot of the characters in the series but my dream would be to find a Bete Loga cosplayer since he's my favorite. I will probably shout if I ever see one. 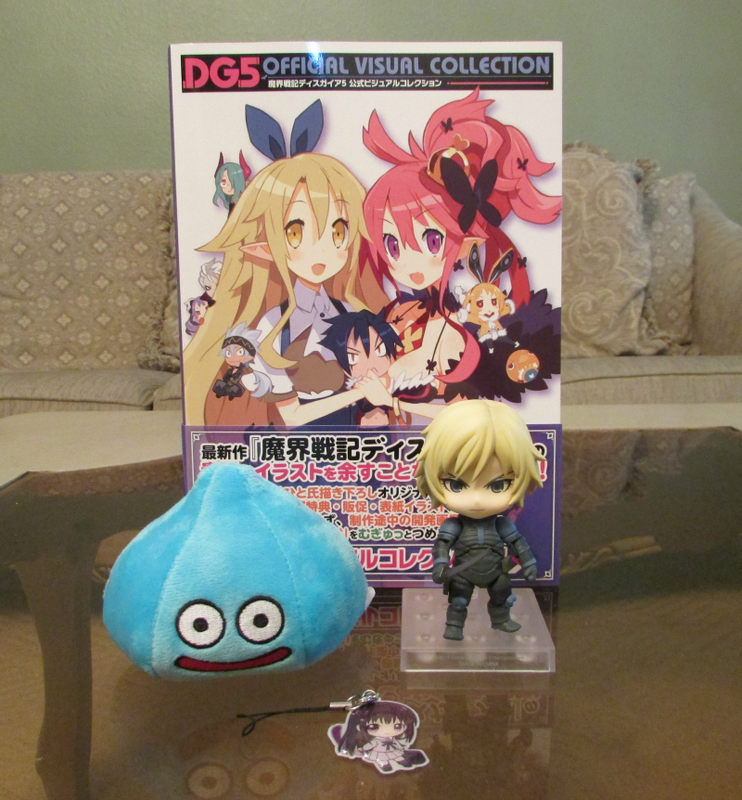
The very adorable Hiyori keychain was given to me by dokitude. She also gave me a Daikoku, but he wasn't included in the photo lol. Sorry Daikoku.
That's about it! If time permits, I'd like to go to ALA again next year. |
AboutHi I'm RQ and this is where I blog about my cosplay and daily life.
*I'm taking a break from cosplay.
Looking back at what I wrote in my posts make me cringe, but I'll leave this blog up in case people still want to use my cosplay progress/WIPs as a resource for their own projects. Categories
All
Archives
July 2017
|
 RSS Feed
